Cypress Testing in Devcontainers and GitHub Codespaces
In 2021 Github released Codespaces allowing developers to connect to a cloud hosted instance of VSCode and code as if they were running on their local system. I’ve personally found it tremendously handy given I jump between different computers very regualrly and find it difficult to keep all my development environments in sync.
It hasn’t all been butterflies and rainbows however, whilst most of my development processes have converted across without a hitch, some processes that rely on a 3rd party interface spawning can’t easily be achieved natively. The example I will cover in this blog post is the Cypress testing suite.
x11 Display over Webpage
The solution is to run a display server, a display client and then expose that display client over a webpage for us to view in either Github Codespaces or any other cloud hosted VSCode setup.
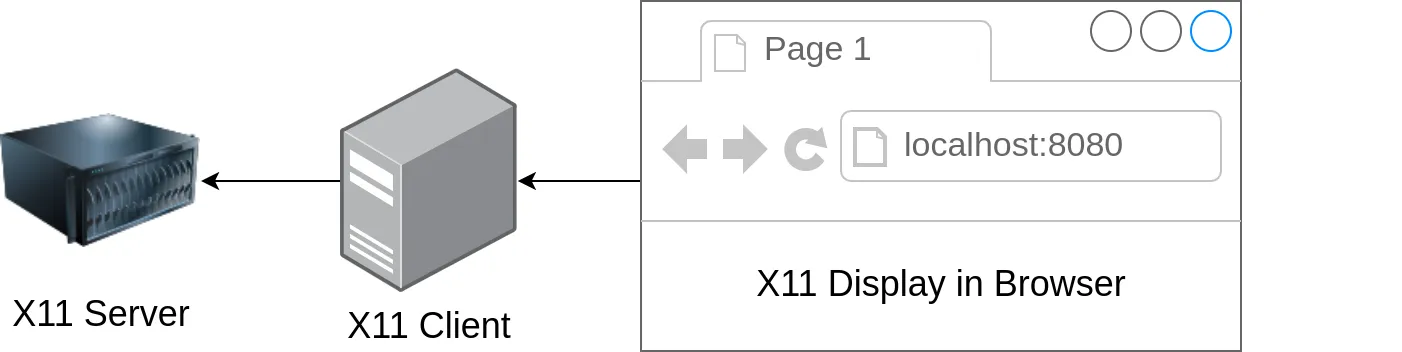
Eugene Yaremenko has written a decent solution to this problem that runs nicely in a docker container already. It uses Xpra to run the X11 server/client exposed over a webpage.
.devcontainer Setup
In the root directory of your repository you will need a folder called .devcontainer and within that folder you’re going to want to create the following files.
.decontainer/Dockerfile
You might need to specify a different base docker image depending on your usecase. Do that by changing the FROM public.ecr.aws/bitnami/node:16 AS dev line.
FROM public.ecr.aws/bitnami/node:16 AS dev # Change this line based on your requirements

# https://docs.cypress.io/guides/continuous-integration/introduction#Dependencies
RUN apt-get update && \
    export DEBIAN_FRONTEND=noninteractive && \
    apt-get -y install --no-install-recommends \
        libgtk2.0-0 \
        libgtk-3-0 \
        libgbm-dev \
        libnotify-dev \
        libgconf-2-4 \
        libnss3 \
        libxss1 \
        libasound2 \
        libxtst6 xauth xvfb
.decontainer/docker-compose.yml
The docker-compose file tells Codespaces and VSCode to launch multiple docker services, rather then the default of loading up just one container. This is really handy as it lets us spin up sidecar containers to assist with development.

In the diagram above note that when VSCode connects it targets the development container on the right where our source code is copied to.
version: '3'

services:
  dev:
    build:
      context: .
      dockerfile: Dockerfile
    command: sleep infinity
    environment:
      DISPLAY: ":14"
      LIBGL_ALWAYS_INDIRECT: 0
    volumes_from:
      - x11-bridge:rw
    depends_on:
      - x11-bridge

  x11-bridge: # https://github.com/JAremko/docker-x11-bridge
    image: jare/x11-bridge
    volumes:
      - "/tmp/.X11-unix:/tmp/.X11-unix:rw"
    ports:
      - "8080:8080"
    restart: always
    environment:
      MODE: tcp
      XPRA_HTML: "yes"
      DISPLAY: ":14"
      XPRA_TCP_PORT: "8080"
      XPRA_PASSWORD: MUST_BE_SOMETHING # This password can be anything you want.
.decontainer/devcontainer.json
Pay particular attention to the following fields:
- service: Ensure this name matches the service name in the docker-compose.yml. This is the service that VSCode and Codespaces runs our repositories source code in and connects us to.
- forwardPorts: This port must match the one exposed by Xpra in the docker-compose.yml
{
  "service": "dev",
  "dockerComposeFile": "docker-compose.yml",
  "forwardPorts": [8080],
  "workspaceFolder": "/workspace"
}
Running Devcontainer
Locally with VSCode
To start with you can test our the configuration by running it locally in VSCode. This requires two prerequisites:
- VSCode installed - Follow the instructions on the VSCode download page.
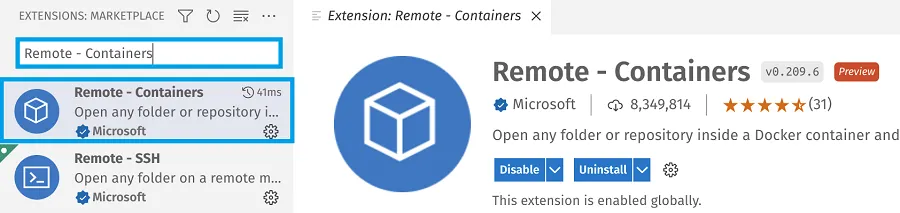
- VSCode Remote - Containers Extension - Install via one of the following methods:
- Launch VS Code Quick Open (Ctrl+P), paste
ext install ms-vscode-remote.remote-containers, and press enter. - Search Remote - Containers in the Extension viewer in VSCode
- Launch VS Code Quick Open (Ctrl+P), paste
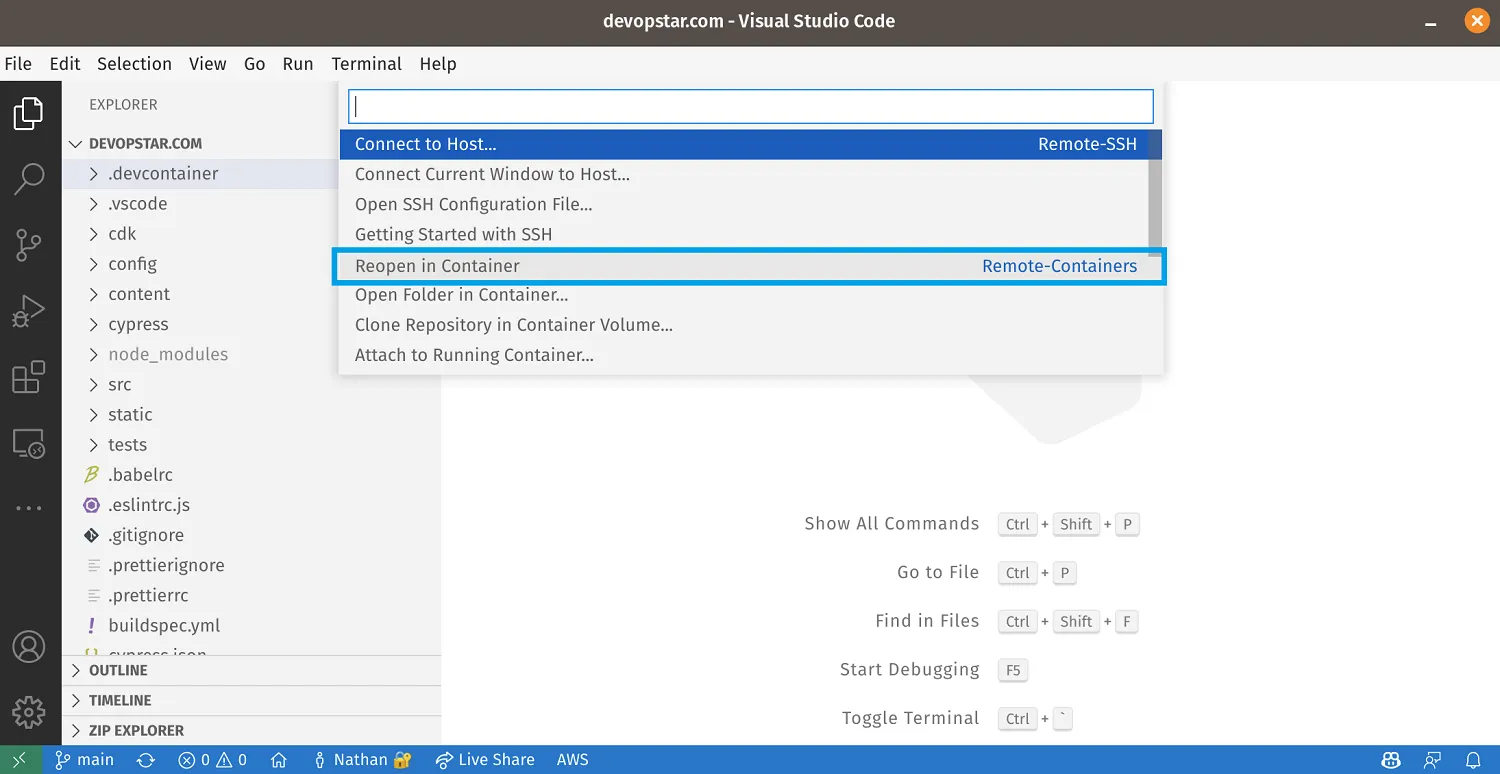
In the bottom left of VSCode, click the Open a Remote Window button (the green reversed square brackets)
The build process might take awhile depending on internet speed and build time of the base Dockerfile.
Codespaces
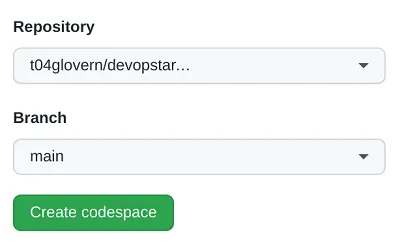
Make sure you have pushed the changes that include your .devcontainer changes to your Github repository. Then navigate to the Codespaces portal and create a new codespace for your repository.
Thats it! Codespaces will automatically read your .devcontainer folder and setup an environment based on that configuration.
Cypress Testing with Xpra
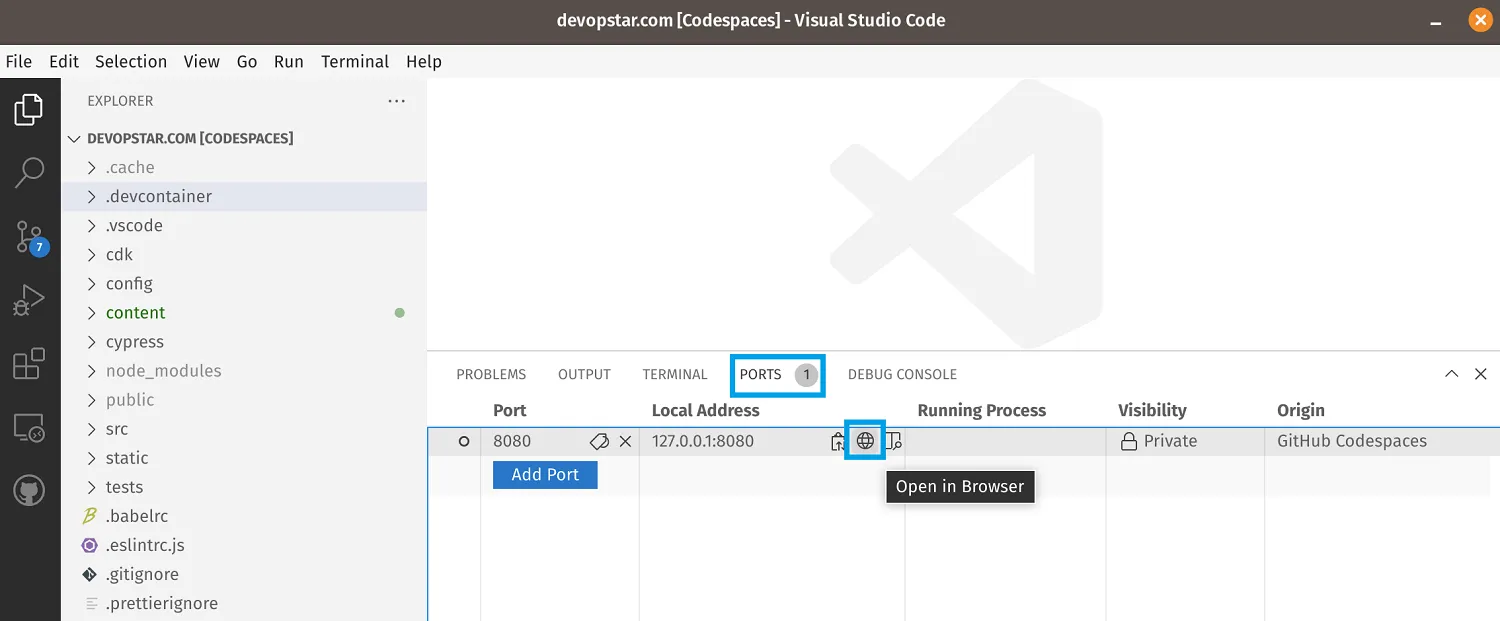
Once connected, open up a the terminal and navigate to the PORTS tab. click Open In Browser
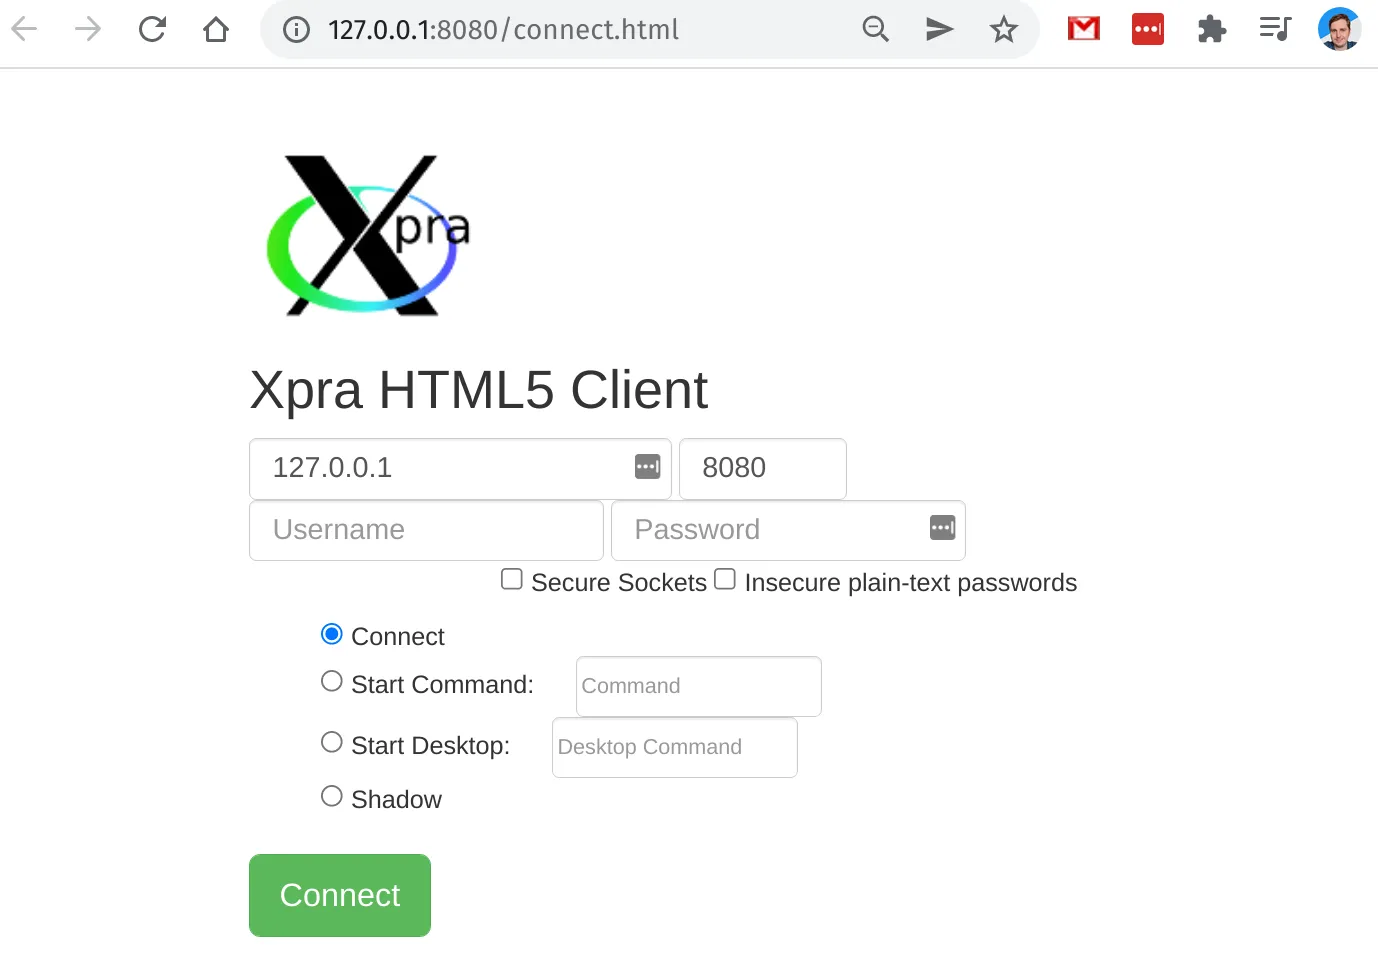
In the browser, punch in the password that was specified in the .decontainer/docker-compose.yml file from the previous setup steps and click Connect.
Head back over to your project code and run your Cypress tests (this might be different depending on how your project is setup). Here’s an example of my package.json that defines how I run Cypress.
// package.json - Scripts
  "scripts": {
    "cy:open": "cypress open",
    "cy:run": "cypress run --config video=false",
    "cy:report": "cypress run report --config video=false",
    "test:e2e": "start-server-and-test develop http://localhost:8000 cy:open",
    "test:e2e:ci": "start-server-and-test develop http://localhost:8000 cy:run",
    "test:e2e:report": "start-server-and-test develop http://localhost:8000 cy:report",
  }
I’ll start up Cypress with the following command
npm run test:e2e
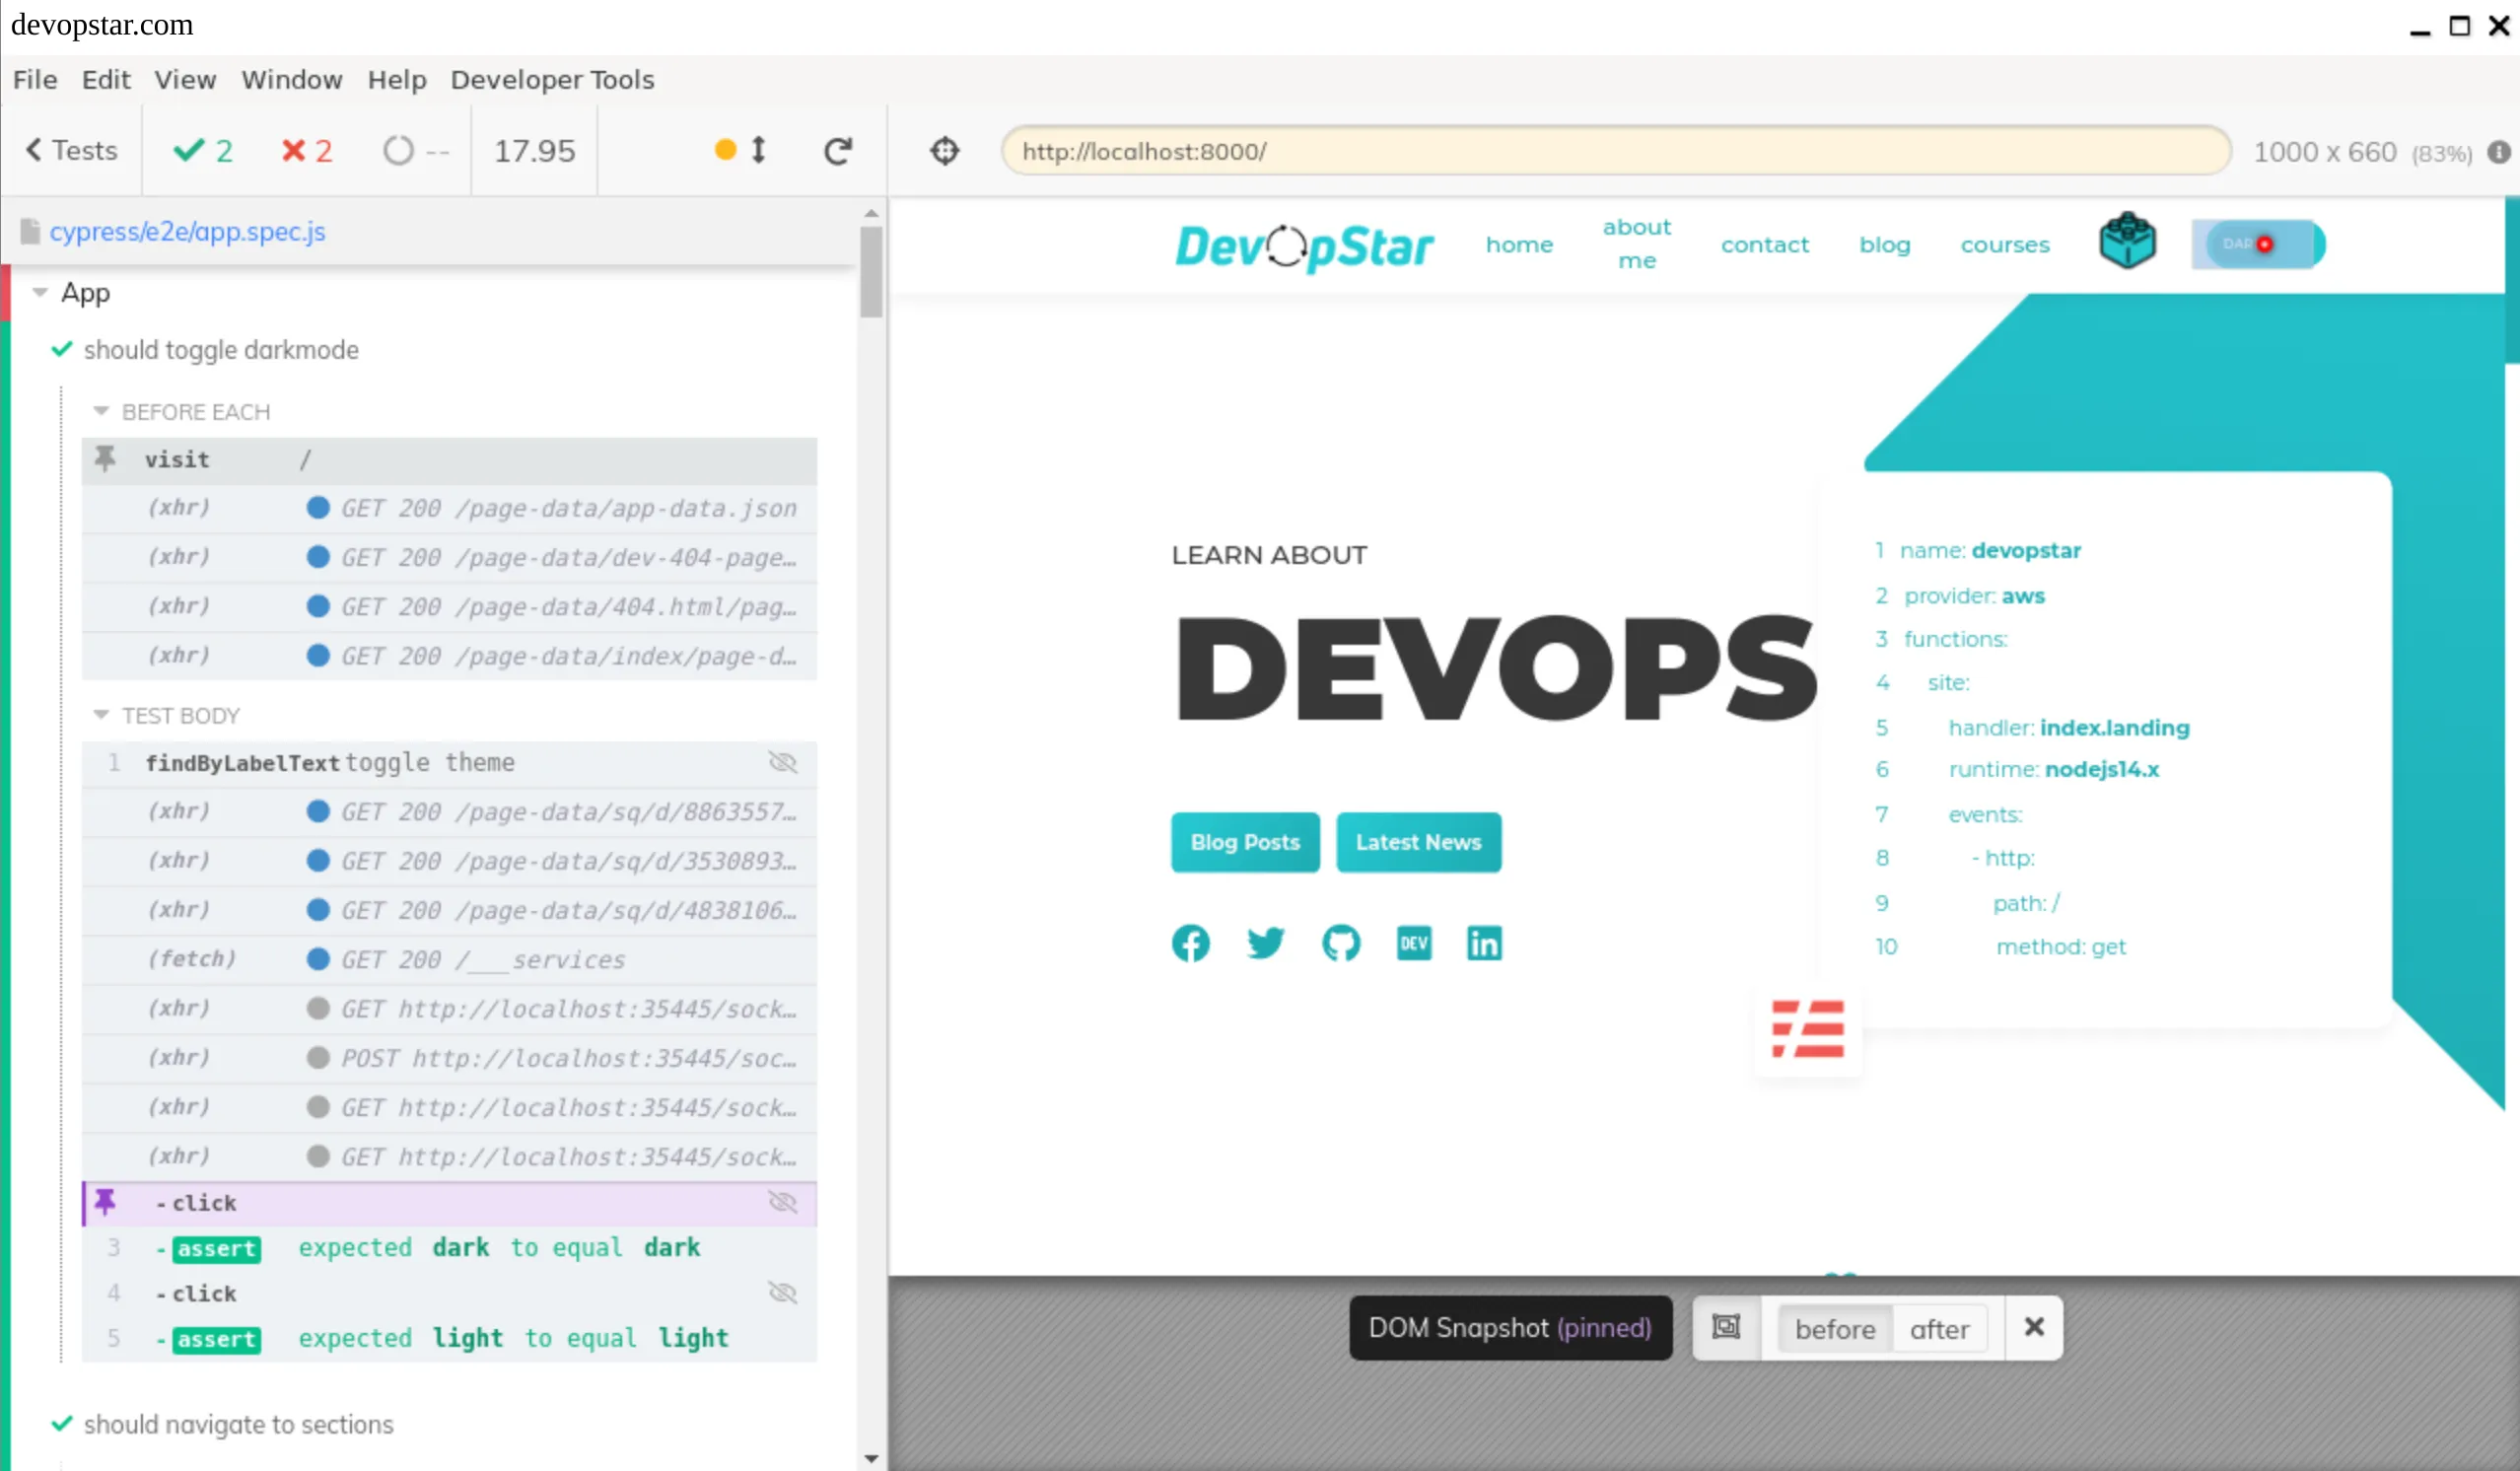
Once Cypress has fired up, you should see it pop up in the browser at http://127.0.0.1:8080/index.html
Note: If you accidently closed the browser, you might find cypress will fail. You might also see some of the following errors (however sometimes these errors show up anyway)
[3721:0102/160922.288570:ERROR:bus.cc(392)] Failed to connect to the bus: Failed to connect to socket /var/run/dbus/system_bus_socket: No such file or directory
[3721:0102/160922.360636:ERROR:bus.cc(392)] Failed to connect to the bus: Could not parse server address: Unknown address type (examples of valid types are "tcp" and on UNIX "unix")
[3721:0102/160922.360769:ERROR:bus.cc(392)] Failed to connect to the bus: Could not parse server address: Unknown address type (examples of valid types are "tcp" and on UNIX "unix")
[3970:0102/160922.775884:ERROR:gpu_init.cc(453)] Passthrough is not supported, GL is swiftshader, ANGLE is
[3721:0102/160924.296357:ERROR:bus.cc(392)] Failed to connect to the bus: Could not parse server address: Unknown address type (examples of valid types are "tcp" and on UNIX "unix")

Summary
Congratulations! You can now Cypress test in Github Codespaces or any other VSCode hosted service. You also aren’t limited to just Cypress either; infact if you launch any GUI application from CLI in your environment, you should see it launch in the Xpra session.
Do you have any other usecases where this workflow is suitable? Let me know by reaching out to me on twitter and show me @nathangloverAUS.