Building the ultimate cat watch
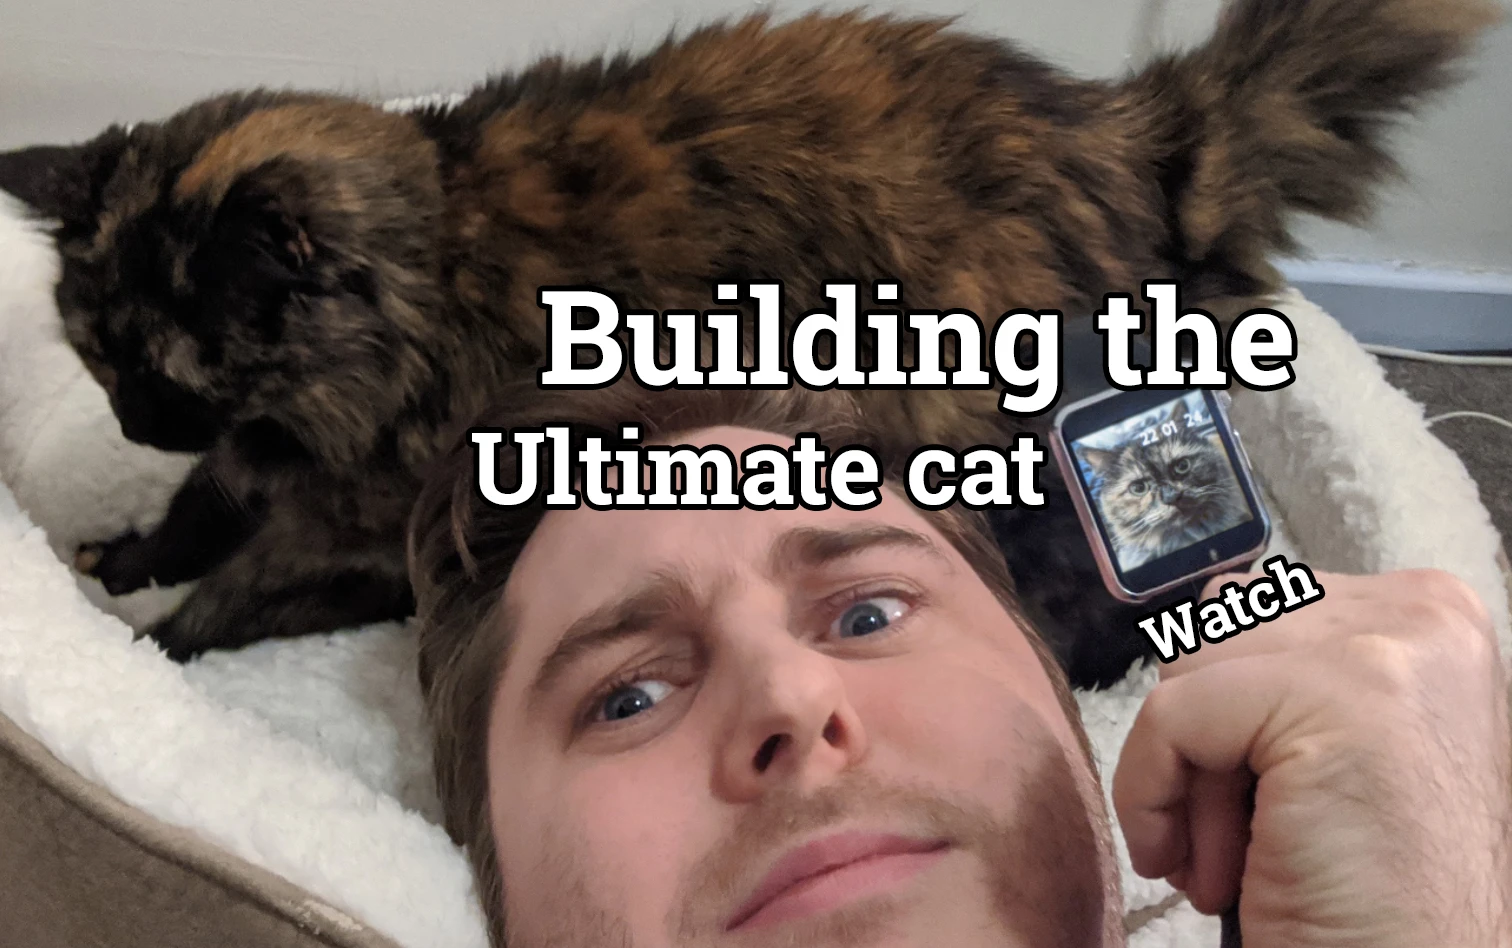
If you’ve ever met me you’ll know that I love my cats. You’ll also know that a fair few of my past my tech projects have revolved around my furry family members. So when I got my hands on some brand new LilyGo T-Watch 2020’s recently I knew I had to build the ultimate cat loving accessory for myself.
What Watch?
The LilyGo T-Watch 2020 is the recent revision of the LilyGo T-Watch line. These aren’t your typical smart watches, as they are completely open source and fully programmable meaning that you have total control over the software that runs on the device.
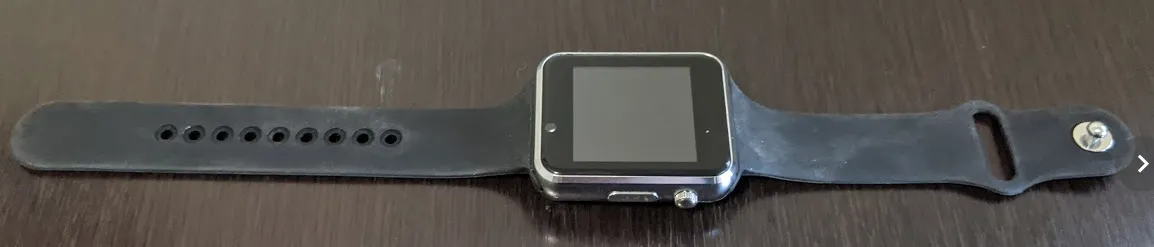
Not only that but the watch has really awesome spec, especially given the ~$30 price tag. Some of the highlights are:
- ESP32 - Regular readers will note how much I love this chip
- 1.54 inch LCD - Color screen!
- FT6236U Touch controller - Because a smart watch without a touchscreen isn’t really a smart watch
- WiFi & Bluetooth - Connectivity to keep us… errr… connected
- Triaxial accelerometer - Step counter
- Vibration motor, Speaker, Infrared signal sensor and a Real Time Clock (obviously)
All this compressed down into a nice wearable form factor that makes this unit truly awesome as a platform for wearable projects.
The Plan
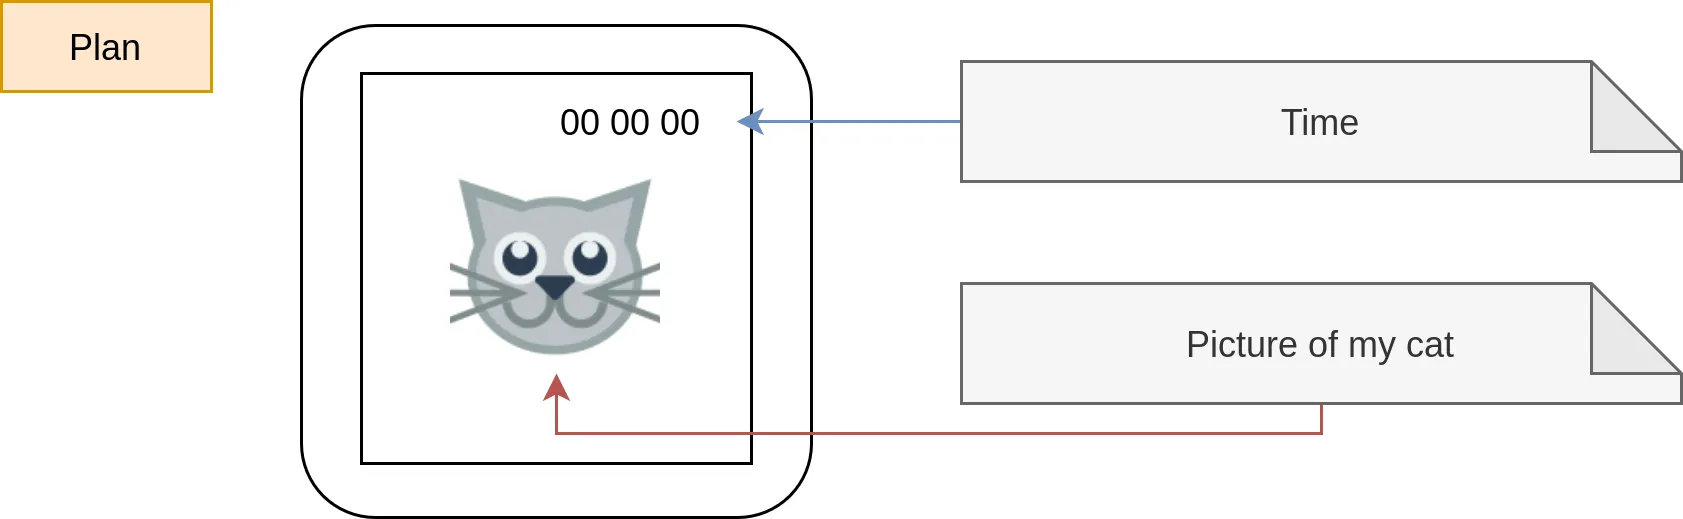
I don’t start any project without a clear vision of what I want the achieve. In this case it was simple; Two steps:
- Take a picture of my cat and put it on the watch (Critical)
- Display the current time (Less Critical)
Programming The Watch
Getting started with programming on the T-Watch is done easiest through the use of PlatformIO. PlatformIO is a truly awesome echo-system for working with embedded devices as it handles all the annoying project configurations and dependency loading for you.
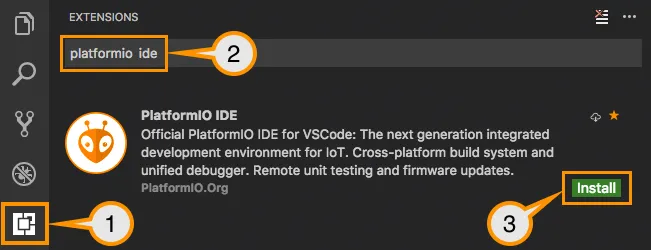
Setting up Platform IO
PlatformIO works best with VSCode, so if you haven’t already got the IDE installed go ahead and do that first. Then once installed, head over to the Extension manager and install PlatformIO IDE
Importing the Project
Now for you guys following along at home, I’ll cut to the chase and give you the code that you can pull down and follow along with. Clone the repo and open it up in VSCode.
git clone https://github.com/t04glovern/ultimate-cat-watch.git
The magic of PlatformIO means that everything else is handled for you! But lets take a look behind the curtains to see how it works. Checking out the platformio.ini file you can see that everything that is needed to setup your environment for flashing code to the watch is seen there:
[env:ttgo-t-watch]
platform = espressif32
board = ttgo-t-watch
framework = arduino

monitor_speed = 115200

lib_deps =
  TTGO TWatch Library
Have a look in the src folder for all the code related to this project that can be flashed to your watch. Lets dive into what the code does and how it can be changed to display my cat!
cat_font.c
cat_font.c is a C (the programming language) formatted font file. Since the watch has no concept of what a font is, we need to convert a font to a format that is basically a list of the pixels that need to be written to the screen to display each letter.
Luckily there’s a fantastic tool that does this for us on the LVGL website called fontconverter. Find a font that you like, I personally picked Kurri Island - Måns Grebäck and downloaded a copy of the .ttf file.
Then navigate back to the fontconverter tool and upload the file. Copy down similar settings to what I’ve used, and define all the symbols you want converted (I’ve just used the numbers 0-9).
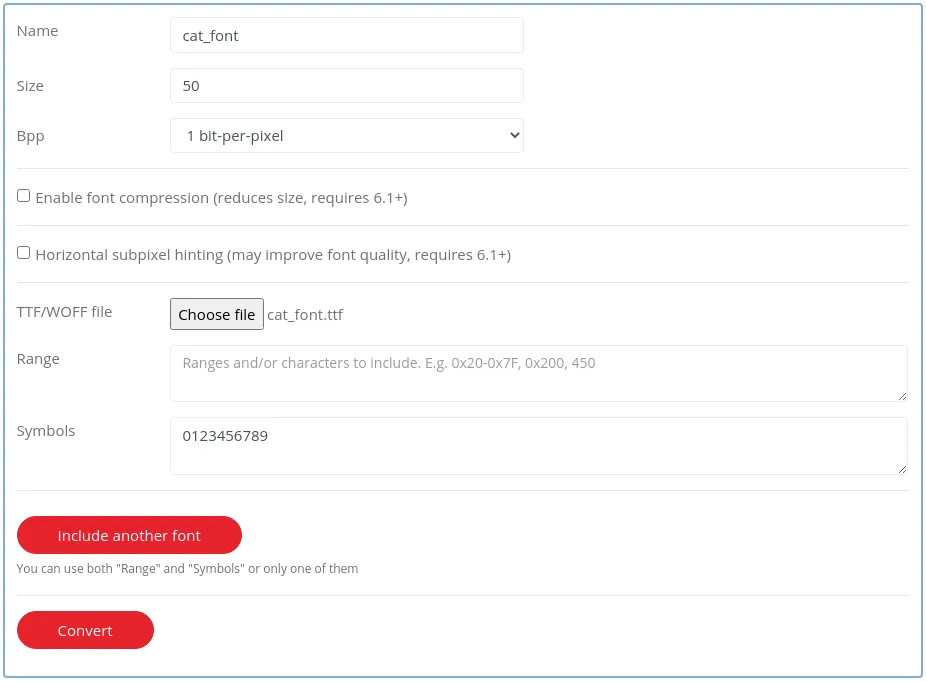
Note: The settings you use might need some tweaking, you’ll be able to adjust the settings later once you flash the code and see how it looks
When you hit convert you’ll be given an output file called cat_font.c which can be placed to override the existing file I had in the ultimate-cat-watch project.
cat_png.c
cat_png.c is similar to the font file from above, however instead we’re dealing with an entire image that needs to be converted to a C (the programming language) Array.
Luckily there’s a tool for doing this as well on the LVGL website called imageconverter. Find an image you want to display on the watch; making sure it has a resolution of roughly 240x240. You can use sites like picresize.com to change the dimensions of your image.
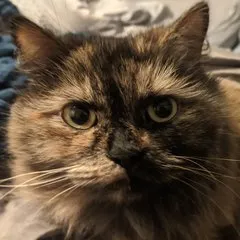
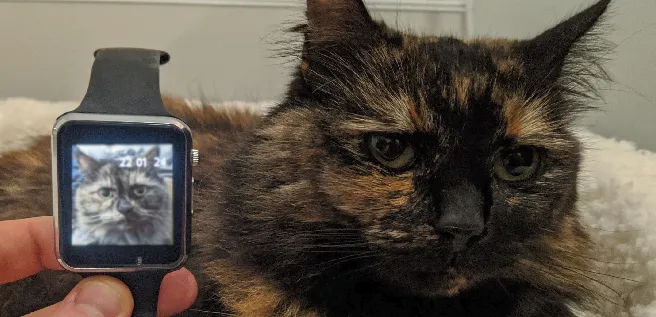
Here’s a picture of my cat if instead you just want to use her!
Upload the image and use similar settings to what I have used below:
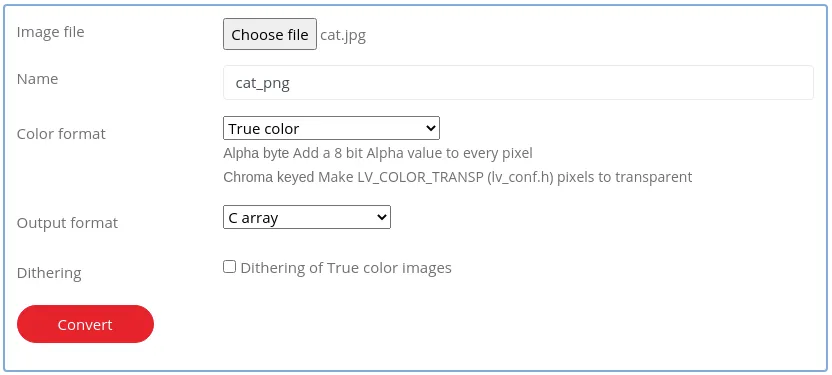
Click convert and you’ll be given an output file called cat_png.c which, like before can be placed to override the existing file I had in the ultimate-cat-watch project.
main.cpp
main.cpp is the heart of our code and is what brings everything together. Most of the code is copied from the excellent BatmanDial example in the offical TTGO_TWatch_Library but I’ve added my own spin.
We start out in the setup() function by initializing the watch, clock, and enable the backlight and set it to 150
    Serial.begin(115200);
    watch = TTGOClass::getWatch();
    watch->begin();
    watch->lvgl_begin();
    rtc = watch->rtc;

    // Use compile time
    rtc->check();

    watch->openBL();

    //Lower the brightness
    watch->bl->adjust(150);
Then using the LVGL functions we can set the background source image to be the cat_png C file that was generated
    lv_obj_t *img1 = lv_img_create(lv_scr_act(), NULL);
    lv_img_set_src(img1, &cat_png);
    lv_obj_align(img1, NULL, LV_ALIGN_CENTER, 0, 0);
The last important line that may change for you depending on if you changed the font (or the font name) is just below where the image background is set. We create a LVGL style and set the font C file and font color.
    static lv_style_t style;
    lv_style_init(&style);
    lv_style_set_text_color(&style, LV_STATE_DEFAULT, LV_COLOR_WHITE);
    lv_style_set_text_font(&style, LV_STATE_DEFAULT, &cat_font);
The rest of the code is simply laying out the format of the on-screen clock, and telling the watch how regularly to update the display
Flashing the Code
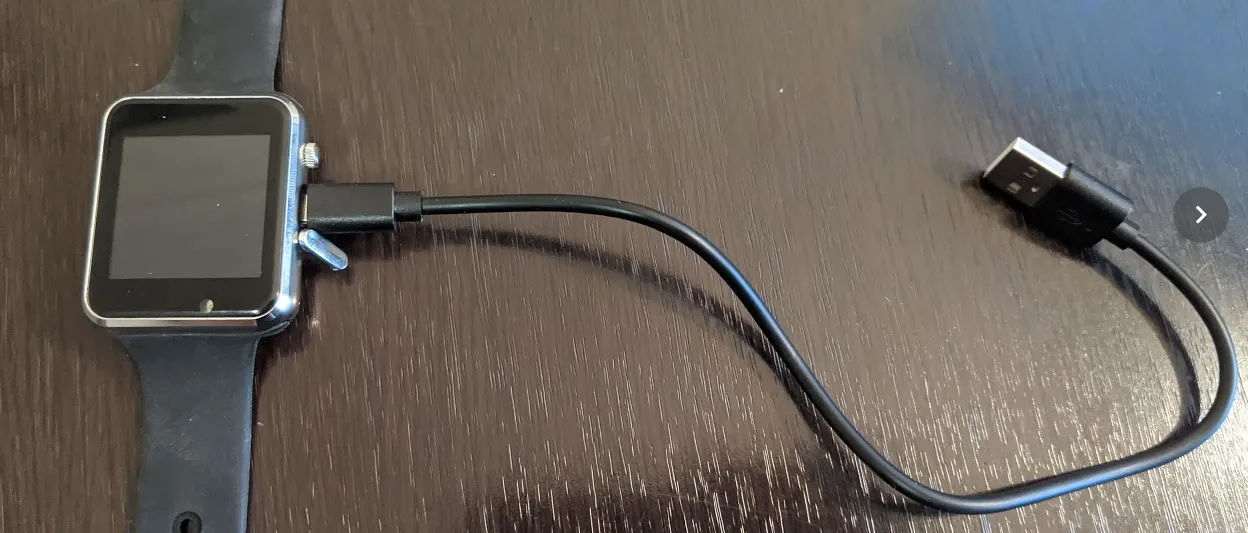
We’re finally ready to flash out code! You’ll need to plug in the LilyGo T-Watch into your computer using the provided USB cable first obviously.
Head to the bottom of the VSCode screen and click the -> arrow to begin compiling and uploading the firmware to the connected device
![]()
Once the upload is complete, the watch should automatically start up and display the image of my (or your) cat.
Conclusion
The LilyGo T-Watch 2020 is a fun little hobby device that hits the mark perfectly with the price point. Paired up with PlatformIO and you have a match made in heaven for beginners looking for something fun to do in the embedded space
I’m interested to hear what you think about the LilyGo T-Watch, hit me up on Twitter @nathangloverAUS if you have any thoughts or questions