AWS IoT Greengrass - Jetson Nano
Welcome to the AWS IoT Greengrass - Jetson Nano brick. In this overview we’ll go through setting up an NVIDIA Jetson Nano with AWS IoT Greengrass. The specific parts that we will cover can be seen below:
- Install NVIDIA Jetson Nano Image
- Create Greengrass Group
- Install AWS IoT Greengrass on Jetson Nano
- Deploy Greengrass Group
Prerequisites
- AWS Account (Free Tier is acceptable)
- Etcher - Used for flashing SD card images
- NVIDIA Jetson Nano Developer Kit, although the second half of this guide will work for any Linux operating system.
- 16GB+ microSD card - Anything smaller and you’ll have trouble with the uncompressed Jetson Nano image
- Power, Ethernet, Mouse, Keyboard & HDMI cable for hooking up the Jetson Nano
Install NVIDIA Jetson Nano Image
Download the Jetson Nano SD card image from the resources website. The image is ~6GB compressed so be aware that this can take a while to download.

Open up Etcher and complete the following steps:
- Select the
.zipfile you just downloaded - Select the microSD card that you want to flash the image to
- Click Flash!

Note: this flashing process can take quite a while (10-15 minutes)
Once the microSD card has been flashed, remove it from your computer and insert it into the Jetson Nano.
Note: It is worth plugging in an ethernet cable at this stage too if you would like to do a system update on first boot.
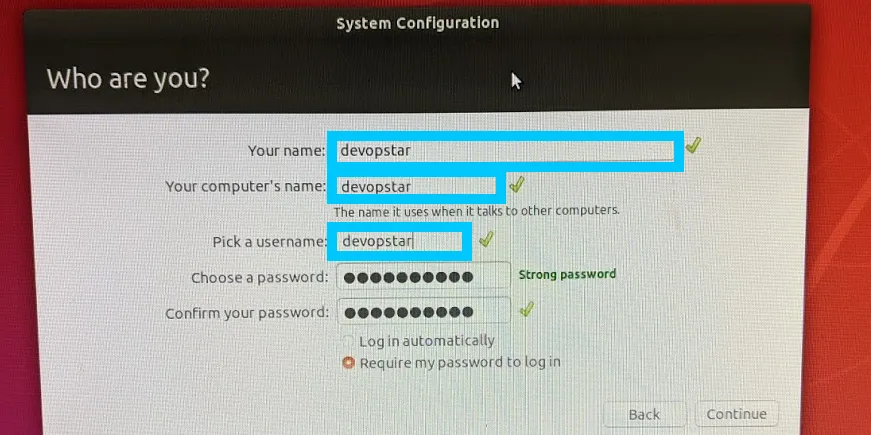
Proceed to power on the board and run through the setup process using the baked in wizard. The only screen where you should have to focus your time is when you name the device and pick a username/password
Create Greengrass Group
In this set of steps we will begin defining out Greengrass group and export a set of certificates that can be used for your Jetson Nano to talk to AWS IoT
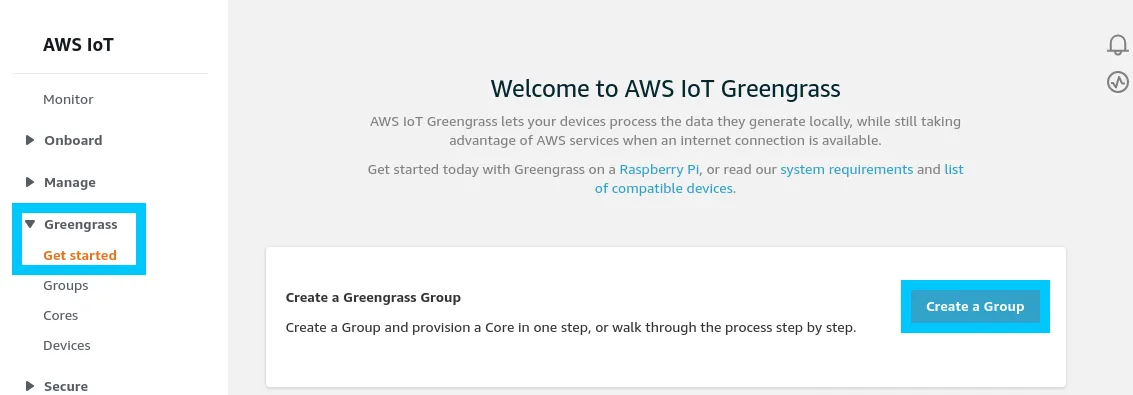
To begin with, navigate to the AWS IoT portal and open up the Greengrass option on the left. From here we are going to run through the Create a Group guided setup by clicking the button
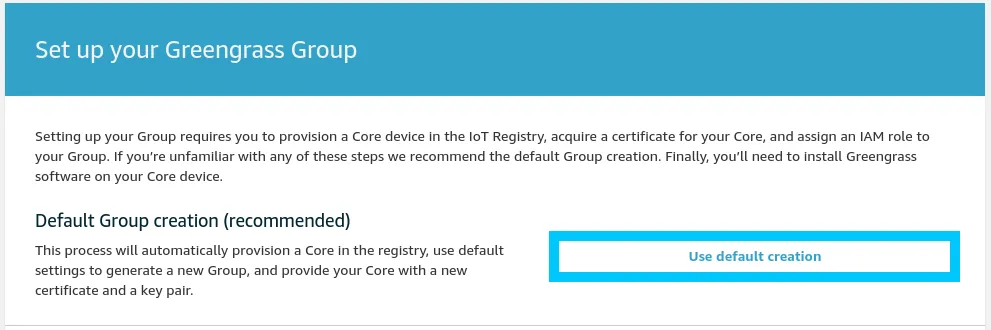
Greeted with two boxes, you are asked which type of setup you would like to run through. For the purpose of this getting started guide, we will be selecting Use default creation
Time to name the Greengrass group, this name needs to be unique within the region of your account. In this guide we’ve gone with demo-group.
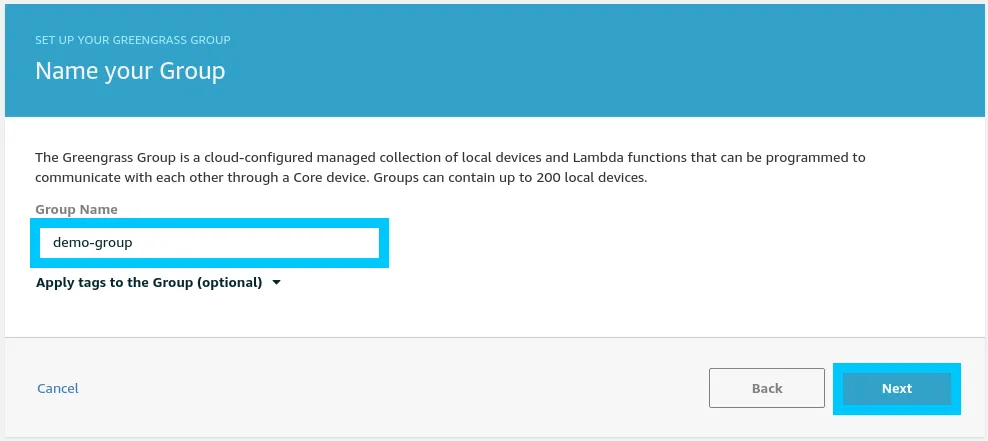
The Core function is used by your Greengrass device to communicate with AWS IoT and other IoT devices on your local network. For this guide we will go with the name that is provided to us by default demo-group_Core.

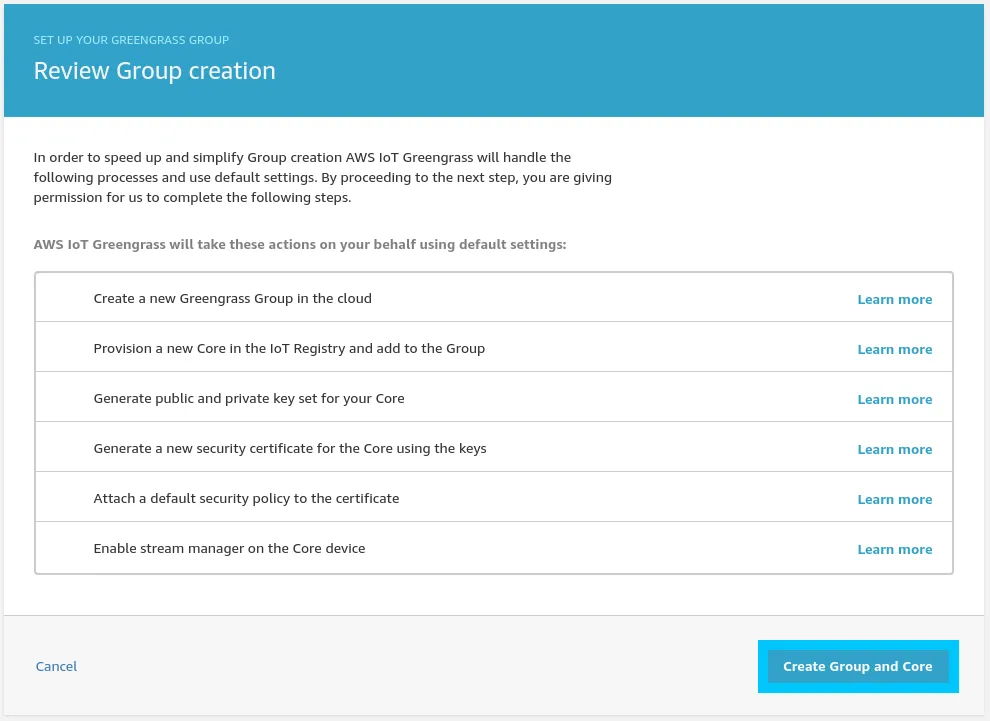
Finally, you will be prompted to understand that the creation task with perform a number of actions for you under the hood. Click Create Group and Core to have all the actions taken.
Note: If you are interested in learning how you can deploy this resources with AWS CloudFormation, check out t04glovern/aws-greengrass-cfn.
Time to celebrate as you have created your Greengrass group and core! Simply download the tar.gz files and keep them somewhere safe for the next steps.
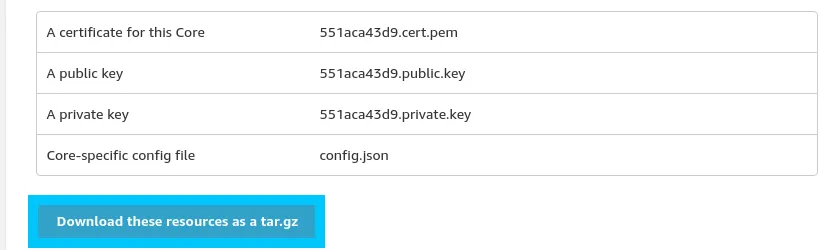
Click Finish to complete this section. In the next section we will take our Greengrass resources and install them on our Jetson Nano.
Install AWS IoT Greengrass on Jetson Nano
Jumping over to your Jetson Nano device, you will need some way to work on the system. You can either:
- SSH to the Jetson Nano:
ssh <username>@<ipaddress> - Plug in keyboard/mouse and work directly
The first thing you will need to do is copy the tar.gz files from the previous steps over. This can either be accomplished by a USB, or SCP (if you feel confident with the command line)
An example of using SCP to copy the file across:
scp xxxxxxxxx-setup.tar.gz <username>@<ipaddress>:/home/<username>

# Example of my command
scp 551aca43d9-setup.tar.gz devopstar@devopstar.local:/home/devopstar
With the files onboard, its time to install Greengrass on the Jetson Nano. To do this run the following commands in order.
# create user ggc_user and group ggc_group
sudo adduser --system ggc_user
sudo addgroup --system ggc_group

# download the Greengrass core package
# this is version 1.10.1 at time of writing
wget https://d1onfpft10uf5o.cloudfront.net/greengrass-core/downloads/1.10.1/greengrass-linux-aarch64-1.10.1.tar.gz

# extract the greengrass files to root
sudo tar -xzvf greengrass-linux-aarch64-1.10.1.tar.gz -C /

# install the rootCA
sudo wget -O /greengrass/certs/root.ca.pem https://www.amazontrust.com/repository/AmazonRootCA1.pem
Next we need to extract those Greengrass configuration files we generated in the previous steps. To do this extract the tar.gz (make sure to change the filename based on your file)
sudo tar -xzvf <certificate_id>-setup.tar.gz -C /greengrass

# Example of my command
sudo tar -xzvf 551aca43d9-setup.tar.gz -C /greengrass
Optionally you can also run the following commands to install some extra dependencies
sudo apt install openjdk-8-jdk
We’re now setup and ready to start the Greengrass core service.
# start greengrass
cd /greengrass/ggc/core/
sudo ./greengrassd start
# Setting up greengrass daemon
# Validating hardlink/softlink protection
# Waiting for up to 1m10s for Daemon to start

# Greengrass successfully started with PID: 12319
Finally, confirm that the service is working properly by running the following (use the PID from the command output above)
ps aux | grep <PID_FROM_ABOVE>
# root     12319  1.3  0.5 1008696 23308 pts/1   Sl   21:14   0:00 /greengrass/ggc/packages/1.10.1/bin/daemon -core-dir /greengrass/ggc/packages/1.10.1 -greengrassdPid 12314
Deploy Greengrass Group
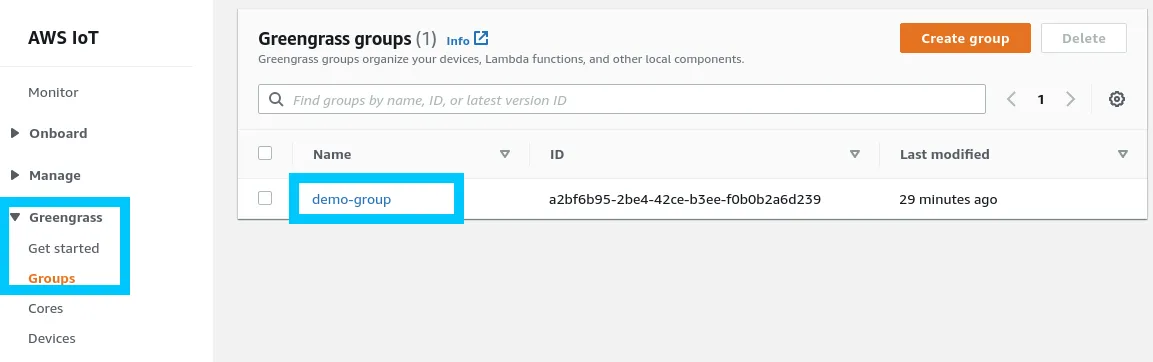
The final step is to run the deploy for the Greengrass group that was just setup. To do this, navigate to the Greengrass Groups section of the AWS IoT portal.
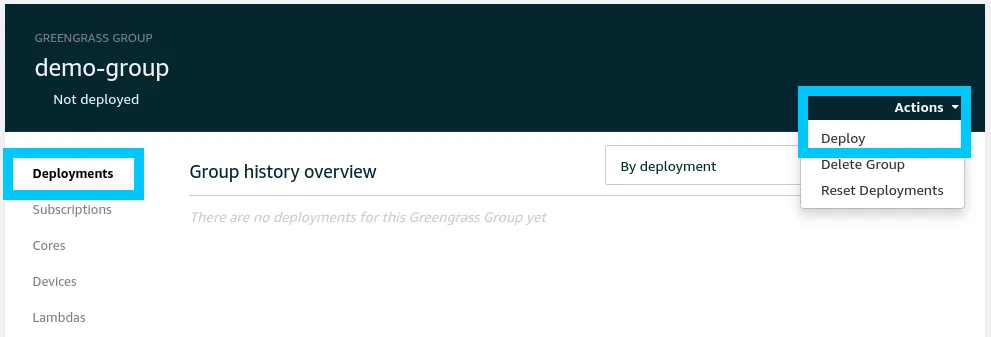
Open up the Greengrass group that we just deployed by clicking its name.
To run the deployment for the device, simply click Deploy under the Actions menu.
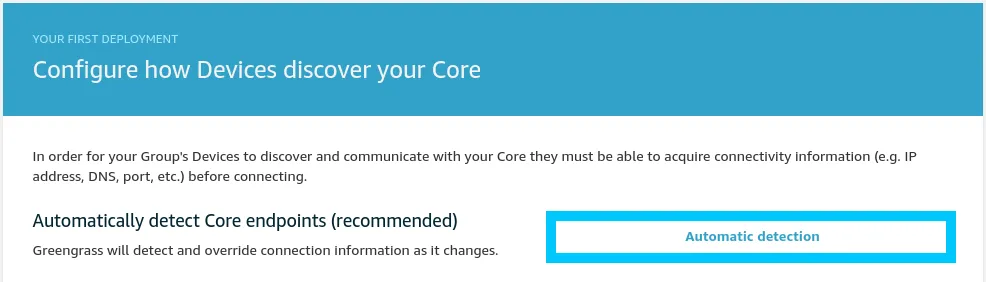
You will be prompted how you would like to deploy, go with Automatic detection.
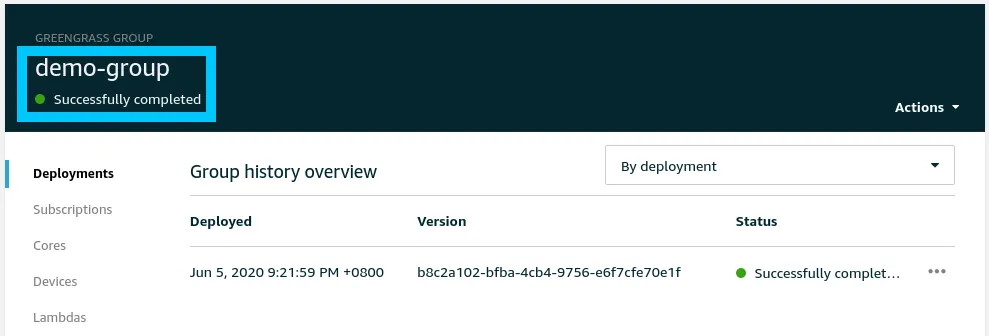
After a minute or so you should see the Greengrass group has been deployed by a green indicator.
Summary
Congratulations! You created an AWS IoT Greengrass group that is ready for use on your edge based IoT project. With this Greengrass Core setup on the Jetson Nano you can now start looking at more complex tasks such as:
- Lambda Functions on the Edge
- Machine Learning on the Edge
- Docker containers on Greengrass
If you had any issues setting things up, or you have other questions, please let me know by reaching out on Twitter @nathangloverAUS or dropping a comment below.