Kubernetes On The Go - Switchroot
Do you own a Nintendo Switch that you wish you could re-purpose into a portable container cluster? Since the answer is inevitably yes, join me as we take a look at how we can turn a popular handheld console into a scalable PaaS in your pocket.
There are two phases to this guide:
- Installing l4t Ubuntu, a Linux distribution based on NVIDIA’s Linux for Tegra project.
- Installing Kubernetes using kubeadm
Prerequisites
Before getting started it is worth confirming the two following major prerequisites can be fulfilled if you are planning on following along.
- Nintendo Switch that is vulnerable to Fusée Gelée, the NVIDIA Tegra coldboot vulnerability exploitable through the USB recovery mode. You can check if your unit is vulnerable using ismyswitchpatched.com.
- Joy-Con Jig can be purchased or made yourself using a paperclip (be careful though).
- 16GB+ MicroSD card and someway to connect it to your computer
- balenaEtcher
If don’t own an older switch with the open USB recovery mode vulnerability then there isn’t much that can be done unfortunately.
Installing l4t Ubuntu
Before getting into the weeds let’s start out by downloading all the random things we are going to need for this mod to work out.
Note: as you download these various toys do yourself a favor and unzip them somewhere easy to work with.
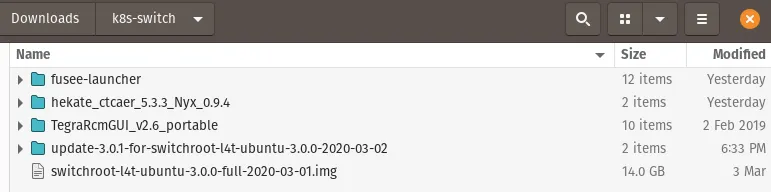
- Switchroot l4t Ubuntu - This file is the largest and contains the full OS install. Extract this to a file switchroot-l4t-ubuntu-3.0.0-full-2020-03-01.img.
- Switchroot l4t Ubuntu [update-3.0.1] - Required updates, extract once downloaded.
- Hekate - Custom Graphical Nintendo Switch bootloader, extract once downloaded.
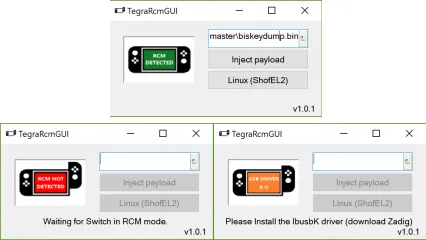
- TegraRcmGUI - for users on Windows - GUI for TegraRcmSmash by rajkosto (Fusée Gelée exploit for Nintendo Switch).
- fusee-launcher - for users on Linux/MacOS - CLI exploit for Fusée Gelée.
Depending on your OS and setup I’ll assume you to have a folder structure similar to the following
Flashing l4t Ubuntu
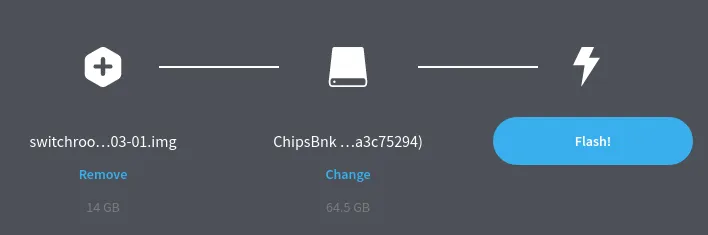
Now that we’re good to go open up balenaEtcher and flash switchroot-l4t-ubuntu-3.0.0-full-2020-03-01.img to the SD card.
Once flashed open up one of the partitions that would have been created for you.
Delete the l4t-ubuntu folder and bootloader/ini/00-ubuntu.ini from this drive. and then copy-paste the contents from the following two prepared directories:
- update-3.0.1-for-switchroot-l4t-ubuntu-3.0.0-2020-03-02 - Move all files
- hekate_ctcaer_5.3.3_Nyx_0.9.4 - Move all files
You should be left with the contents looking like the following.

The SD card should now be prepared for use on the Switch so go ahead and insert it into the back of the device (behind the kick-stand).
Booting into RCM
RCM mode is a system diagnostic mode used by Nintendo to repair software failures, however we can also use it to execute unsigned code on the device. It was never intended to be available to anyone other than Nintendo, that obviously didn’t work out for them did it.
Step through the following steps until you have your Switch in RCM.
- Plug Switch into a computer with Type-C cable
- Power off the Switch by holding the power button then selecting Power-off
- Install Joy-Con JIG bridging pin 10 to ground.
- Hold
VOL+and press thePOWERbutton
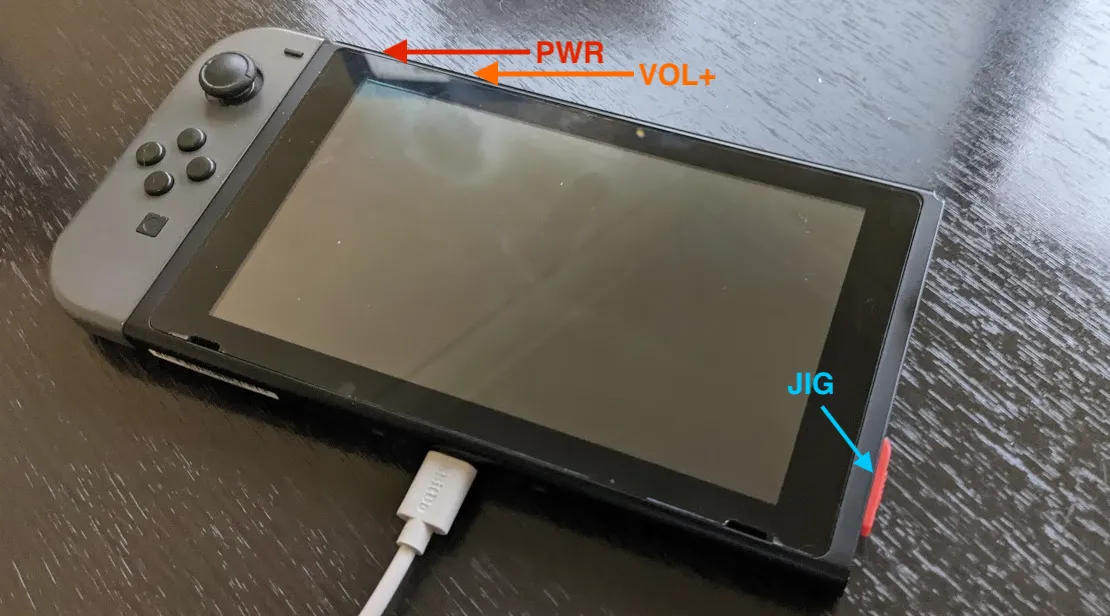
If everything went well, your Switch should appear like it is doing nothing. If it powers on, repeat confirming you did all the above steps.
If you are running TegraRcmGUI, select the hekate_ctcaer_5.3.3.bin file and click inject to boot the Switch into Hekate.
If you aren’t on Windows, use fusee-launcher and run the following python commands
cd fusee-launcher

# Pass in the `hekate_ctcaer_5.3.3.bin` binary to fusee-launcher
./fusee-launcher.py ../hekate_ctcaer_5.3.3_Nyx_0.9.4/hekate_ctcaer_5.3.3.bin
Setting up Ubuntu
Once booted into Hekate I would recommend watching Mr.Rabbit GameTv’s video from 3:03.
- Click Nyx Options, then click Dump Joy-Con BT
- Click More Configs on the Hekate menu then select Ubuntu Linux
- Proceed through the setup process until you have booted into Ubuntu. Once logged in, reboot the system back to the Hekate menu. Re-open Ubuntu Linux
- Expand the disk volume by using the Disk utility in Ubuntu.
- Connect to WiFI, then update the system:
sudo apt update && sudo apt upgrade
Installing Kubernetes
This part is easy now that we have a running version of Ubuntu! it’s so easy I can just throw you the lines of bash you need to run to get it all up and running
# Install dependencies
sudo su
curl -s https://packages.cloud.google.com/apt/doc/apt-key.gpg | apt-key add -
cat <<EOF > /etc/apt/sources.list.d/kubernetes.list
deb http://apt.kubernetes.io/ kubernetes-xenial main
EOF
apt-get update
apt-get install -y docker.io kubeadm

# Setup cluster
kubeadm init

# Back out of root
exit

# Setup kubectl locally
sudo cp /etc/kubernetes/admin.conf $HOME/
sudo chown $(id -u):$(id -g) $HOME/admin.conf
export KUBECONFIG=$HOME/admin.conf
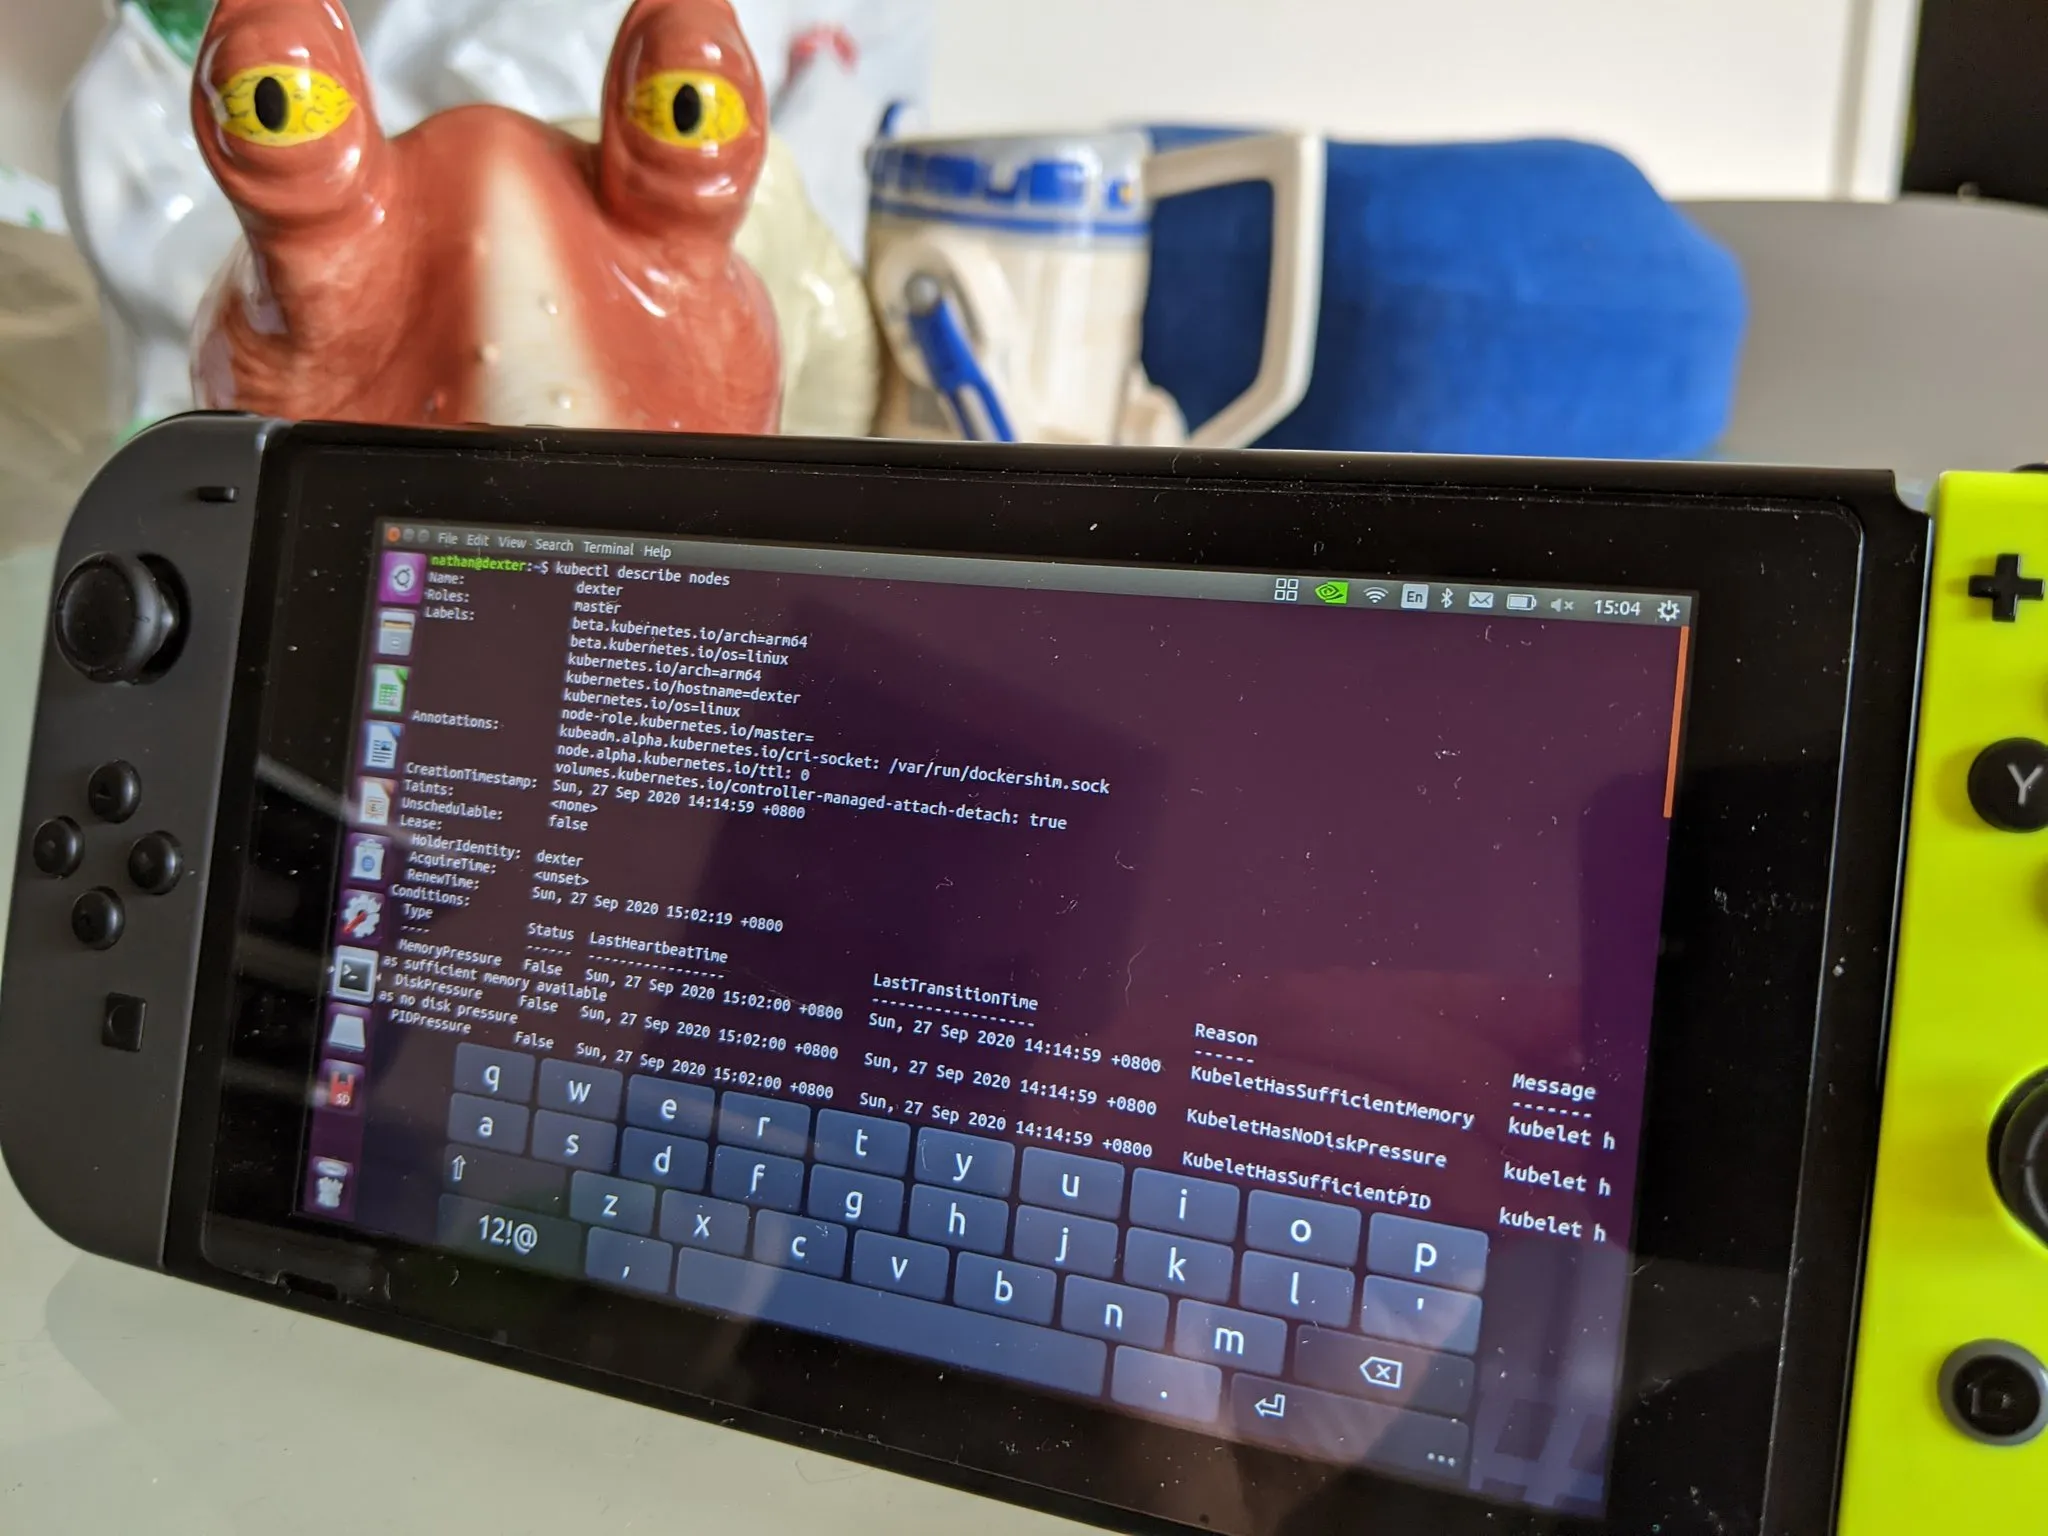
That’s it. Seriously, that is all you needed. Check to see the node is running correctly by running kubectl get nodes
I want normal Switch
It’s super easy to revert to your normal switch! Just turn it off and on again. You will reboot into normal mode and can continue to use the normal, boring, non-kubernetes-enabled OS.