Generating Cats with StyleGAN on AWS SageMaker

Introduction
Recently myself and Stephen Mott worked on taking some of the fantastic work done at NVIDIA Labs and try to expose it in a more practical and fun way to the general population. The result was a small website called These Cats Do Not Exist.
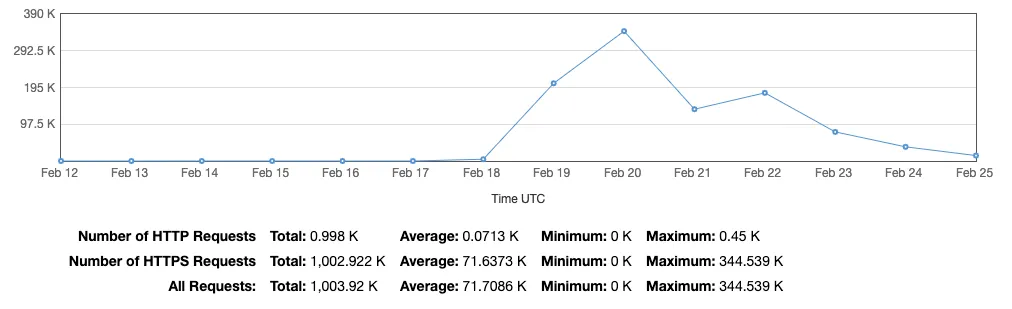
The site went over really well and gave me some good exposure to a high number of requests, and how to effectively handle traffic caching using CloudFront
This post is looking to solve a similar problem that the http://thesecatsdonotexist site did, except for noobie data science wannabe’s like myself, who don’t really understand much yet, but love to try out pre-trained models and networks in a simple way.
For this reason, I wanted to get the pre-trained network nicely documented and pipelined on SageMaker. Keep reading!
StyleGAN Pre-trained Network
StyleGAN popped up a few weeks back and it makes use of what is called a Generative Adversarial Network.

Throughout this tutorial we make use of a model that was created using StyleGAN and the LSUN Cat dataset at 256x256 resolution. The model itself is hosted on a GoogleDrive referenced in the original StyleGAN repository. This model is required.
I have hosted a copy of the model on the S3 bucket we use in this tutorial, however if it hit with a lot of requests it might not be available.
S3 Bucket for pre-trained network
Create a new S3 bucket that will store our pickled pre-trained network for use in SageMaker later on. This name needs to be unique globally.
aws s3 mb s3://devopstar
Next, copy the pickled pre-trained network that you downloaded into the S3 bucket. Running the following command will take the file in model/karras2019stylegan-cats-256x256.pkl and put it in resources/aws-catgen/models/karras2019stylegan-cats-256x256.pkl of your S3 bucket
aws s3 cp model/karras2019stylegan-cats-256x256.pkl s3://resources/aws-catgen/models/karras2019stylegan-cats-256x256.pkl
Take note of whatever you used above for your S3 bucket name, and the path in which you copy the pickled file. Whenever you see me refer to the following, replace them with your own configuration.
SageMaker Setup
Running the code for this tutorial requires a dedicated GPU(s), specifically the Instance that is going to be deployed is an ml.p2.xlarge. The costs associated with this instance are not especially cheap, and will rack up approximately $1.26 per hour (while running).

Trying and Failing to CloudFormation
Initially the goal was to CloudFormation the entire process for getting this pipeline up and running, however it became clear after some reading that it wouldn’t be possible to do it all in one script. Unfortunately the option set for SageMaker notebook instances are limited to the following currently
Type: "AWS::SageMaker::NotebookInstance"
Properties:
  KmsKeyId: String
  DirectInternetAccess: String
  SubnetId: String
  NotebookInstanceName: String
  InstanceType: String
  LifecycleConfigName: String
  SecurityGroupIds:
    - String
  RoleArn: String
  Tags:
    - Tag
The important aspect that’s missing is the ability to link a SageMaker Repository (or an external repository) to a new notebook instance. We can however accomplish this with aws-cli sagemaker option set
SageMaker Execution Policy
One piece of the setup that can be CloudFormed is the Execution policy that the SageMaker notebook will use when accessing files in an S3 bucket later on. The role itself is purely defining whitelisting for SageMaker to talk to a specified S3 bucket based on the S3BucketName being passed into it. The default parameter is devopstar.
Running the following line will deploy a new Execution Role that will be used with our Notebook later on.
aws cloudformation create-stack \
    --stack-name "cat-gen-sagemaker-role" \
    --template-body file://cloudformation/sagemaker_role.yaml \
    --parameters ParameterKey=S3BucketName,ParameterValue=devopstar \
    --capabilities CAPABILITY_IAM
Once the role has been created successfully, retrieve the ARN for the use later on. It will look something like arn:aws:iam::XXXXXXXXXXXX:role/cat-gen-sagemaker-role-ExecutionRole-PZL3SA3IZPSN.
aws cloudformation describe-stacks --stack-name "cat-gen-sagemaker-role" \
    --query 'Stacks[0].Outputs[?OutputKey==`MLNotebookExecutionRole`].OutputValue' \
    --output text
SageMaker Code Repository
Removing as much manual work as possible for the deployment of this pipeline is important, and one of the steps that introduces a lot of overhead once the notebook is deployed is the pulling down of the StyleGAN repository.
Luckily this process can be included during the startup of the notebook by passing in a code repository. Create a new notebook repository by running the following command
aws sagemaker create-code-repository \
    --code-repository-name "t04glovern-stylegan" \
    --git-config '{"Branch":"master", "RepositoryUrl" : "https://github.com/t04glovern/stylegan" }'
SageMaker Notebook Instance
Now that everything is ready and prepared, we can create a new notebook instance passing in a couple parameters we have collected from the previous steps.
- notebook-instance-name: The name you want to give your notebook
- instance-type: Based on the pricing, select a instance type (with GPUs) to launch
- role-arn: Retrieved from the previous setup where we created the Execution role with CloudFormation
- default-code-repository: Name of the repository created in the previous step.
aws sagemaker create-notebook-instance \
    --notebook-instance-name "cat-gen" \
    --instance-type "ml.p2.xlarge" \
    --role-arn "arn:aws:iam::XXXXXXXXXXXXX:role/cat-gen-sagemaker-role-ExecutionRole-PZL3SA3IZPSN" \
    --default-code-repository "t04glovern-stylegan"
Once completed, open in JupyterLab by navigating to the notebooks section of the SageMaker UI.
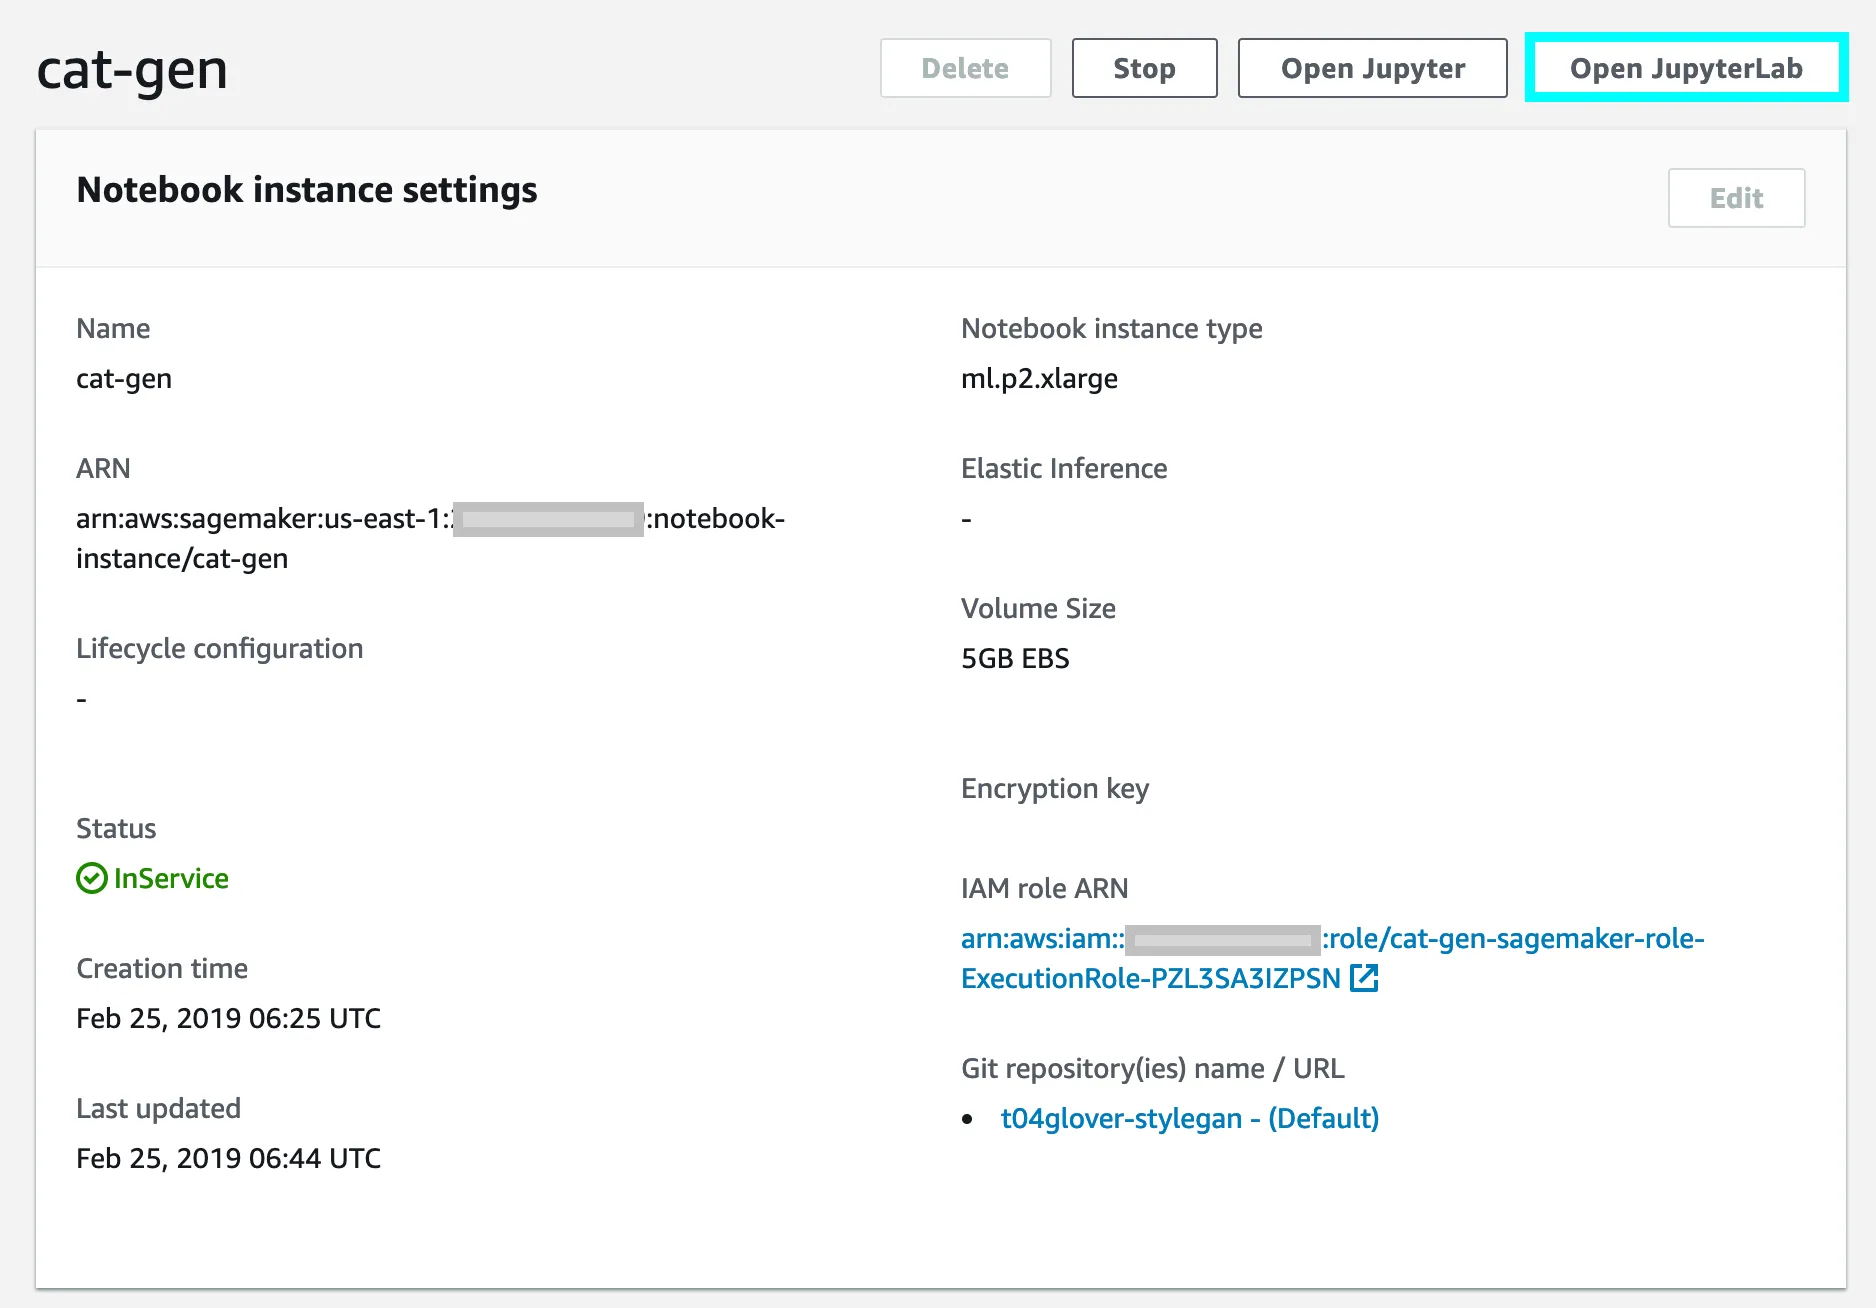
Generating Cats
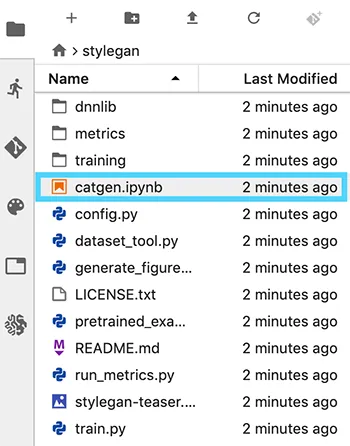
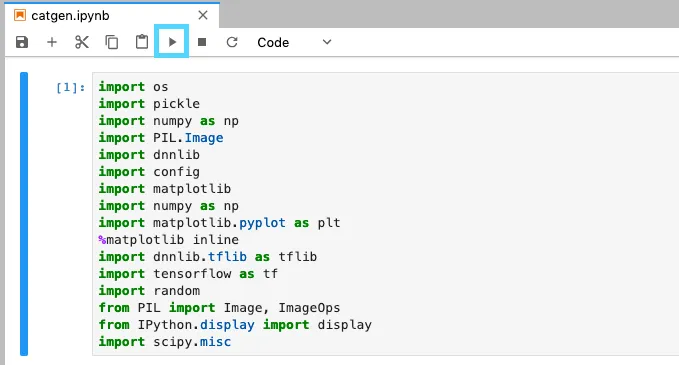
After launching the JupyterLab instance in your browser, you should be able to see the code repository we defined earlier in the file tab off to the left. Open up catgen.ipynb
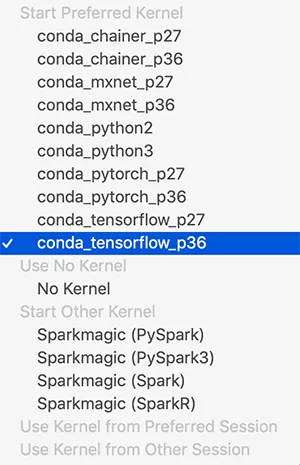
You will be prompted to select the preferred kernel. Select conda_tensorflow_p36.
Begin to execute the notebook using the controls at the top of the notebook. Step through each section of the notebook block by block and confirm everything works as expected.
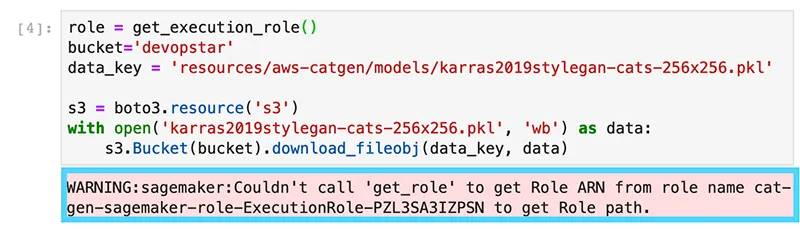
The S3 Access section might require changes to be made ensuring that you are retrieving the pickled pre-trained network from the correct S3 bucket and path
role = get_execution_role()
bucket='devopstar'
data_key = 'resources/aws-catgen/models/karras2019stylegan-cats-256x256.pkl'

s3 = boto3.resource('s3')
with open('karras2019stylegan-cats-256x256.pkl', 'wb') as data:
    s3.Bucket(bucket).download_fileobj(data_key, data)
NOTE: You might run into some issues when bringing in the role; I’ve found this to be a benign issue through.
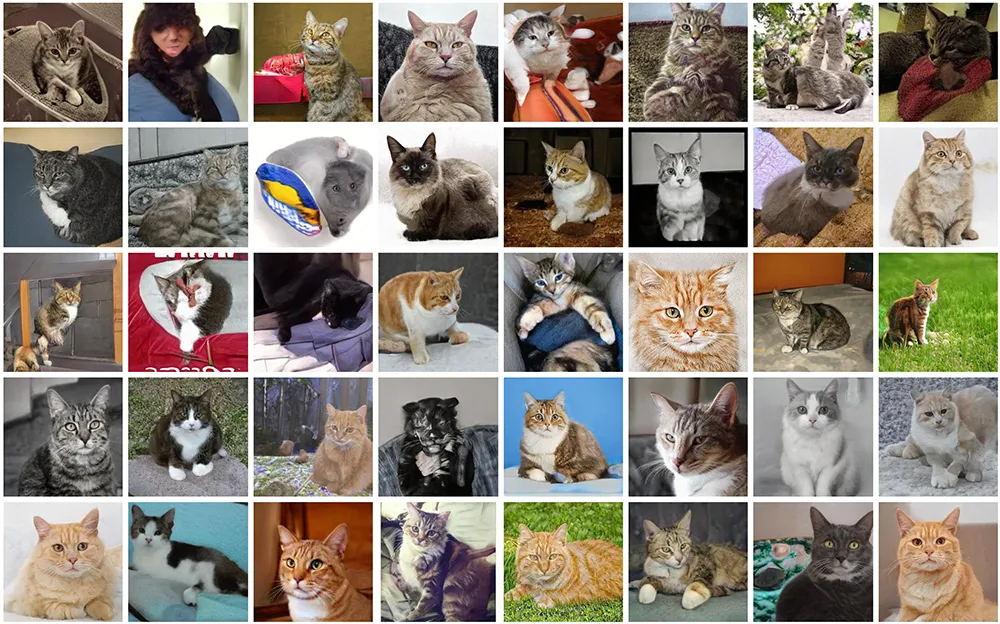
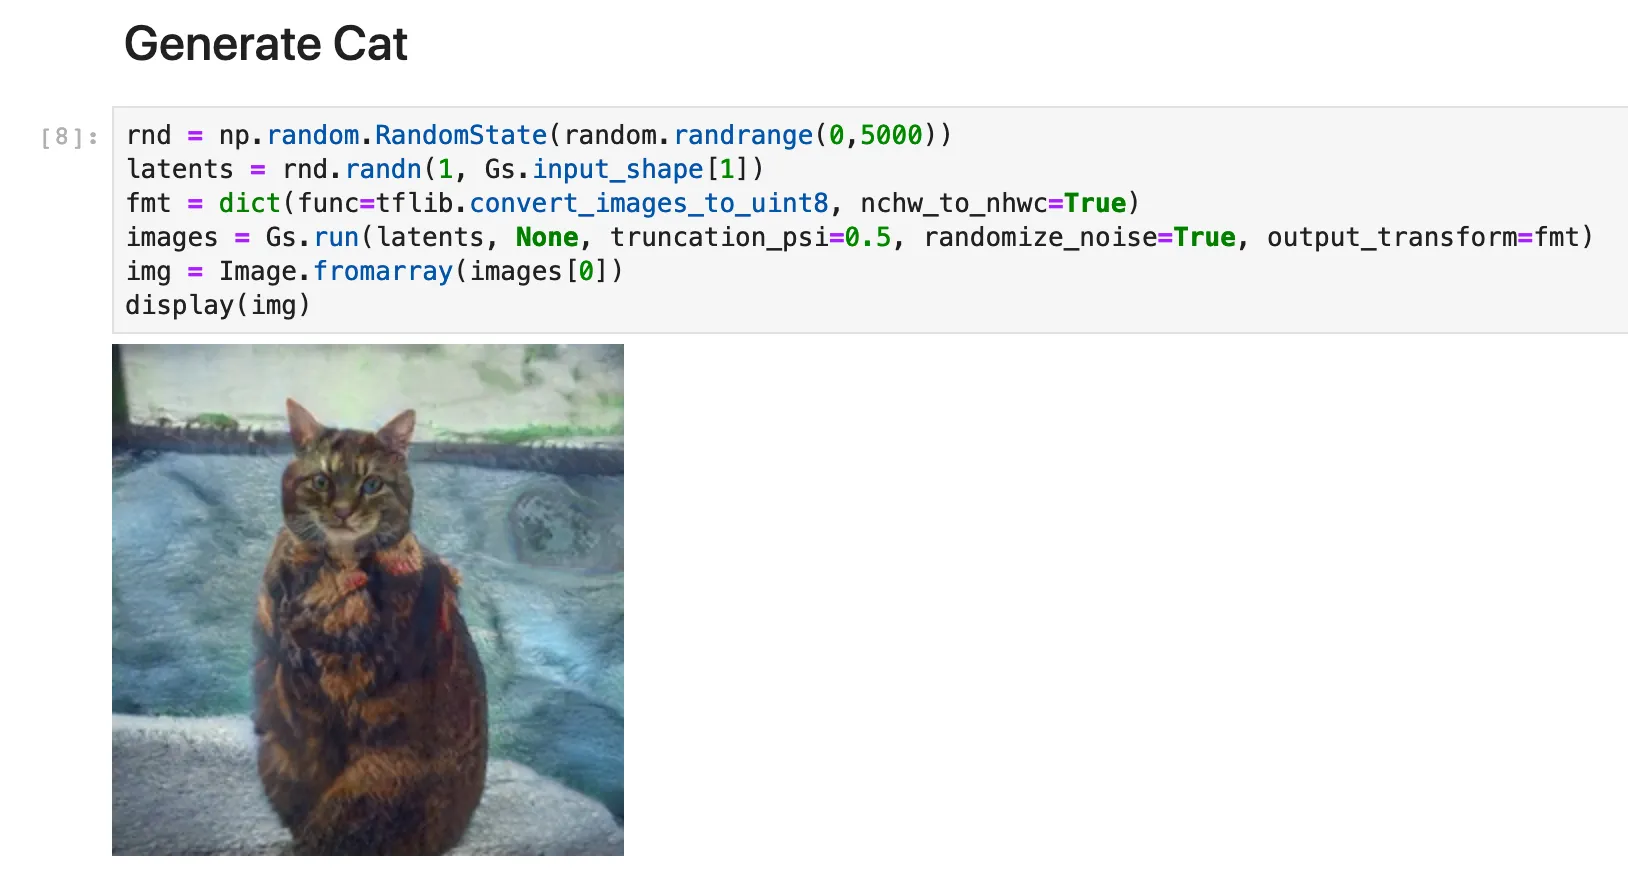
Finally after loading in the pickled pre-trained network, we are able to generate cats by running the last section over and over again.
SageMaker Cleanup [IMPORTANT]
Once finished with the notebook its extremely important that you shut it down or delete everything so you aren’t paying the $1.20+ per hour cost.
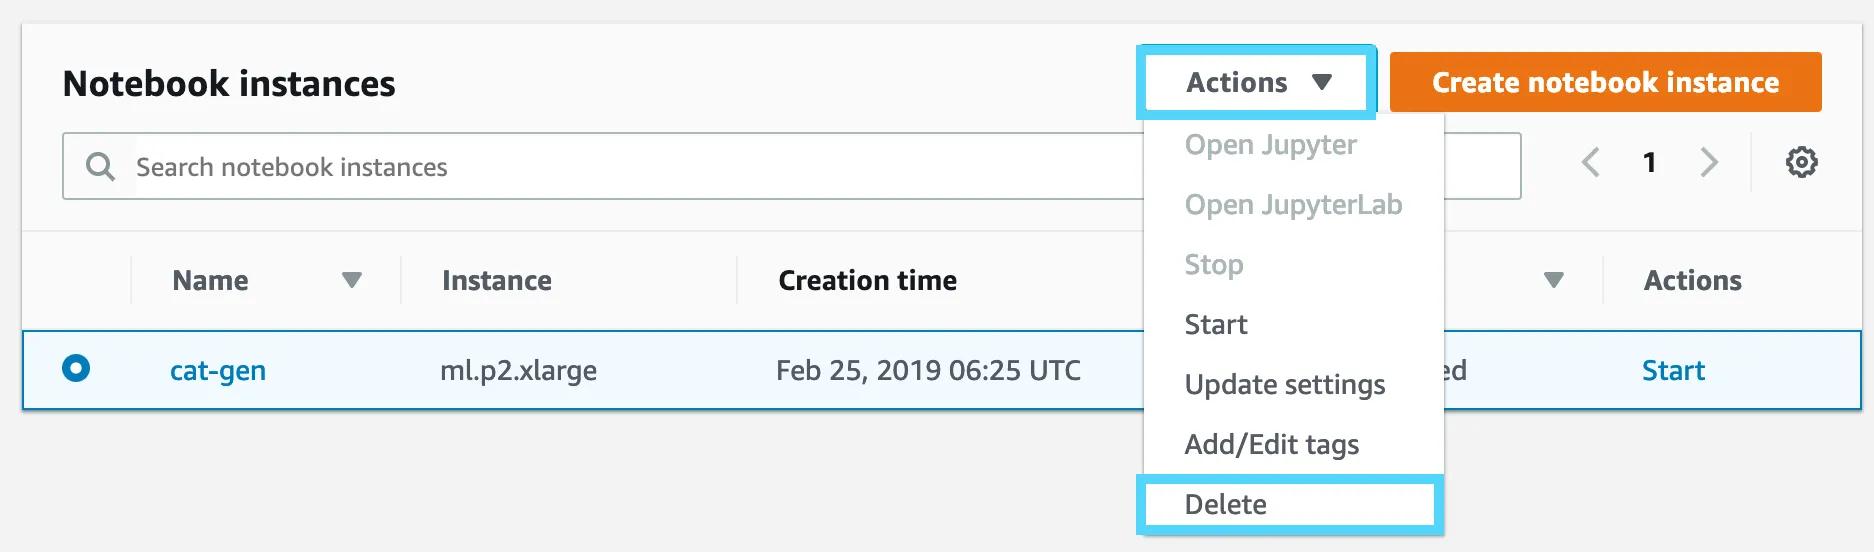
Notebook Instance Cleanup
Simply shutdown and optionally delete the notebook from the SageMaker UI
Alternatively you can run the following aws-cli command to remove the notebook
aws sagemaker delete-notebook-instance \
    --notebook-instance-name "cat-gen"
Code Repository Cleanup
Optionally delete the code repository using the SageMaker UI

Alternatively you can run the following aws-cli command to remove the repository
aws sagemaker delete-code-repository \
    --code-repository-name "t04glover-stylegan"
Execution Role Cleanup
Run the following aws-cli command to remove the stack created for the Execution role for SageMaker
aws cloudformation delete-stack \
    --stack-name "cat-gen-sagemaker-role"