Deploying a Private VPN to AWS EC2 using CloudFormation
These days a VPN is almost a necessity. For most people their first experience with a VPN was likely for removing geo-blocking limitations so they could watch their favourite TV series without having to wait 6-months for it to launch in their country.
Perhaps you’ve taken note of the growing number of cyber threads and just want to take your own security more seriously? Or maybe you just want a way to manage your own VPN server without needing to pay and month-by-month subscription?
Well in this post we’re going to cover how you can take back control of your security and deploy your very own - self managed PPTP VPN in AWS, with an added bonus that we’ll be using CloudFormation to manage it!
Prerequisites
- AWS Free-tier account: You will need to have access to an AWS free-tier account in order to deploy this.
- AWS CLI (Optional): The AWS CLI will optionally need to be setup on your local machine. This includes ensuring you have credentials / access keys configured so we can interact with AWS using the command line interface.
VPN Architecture
The concept how a VPN works won’t be covered in this post, however a high-level understanding of what a VPN does can be seen below.
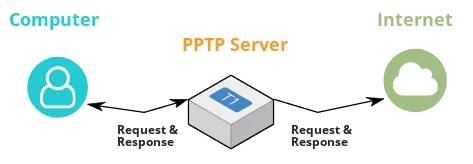
Our VPN handles traffic between our computer at home, and the server we are wanting to connect to.
AWS CLI Deployment
The preferred way to deploy this architecture is using the AWS CLI tools allowing with the code found in the following git repo: https://github.com/t04glovern/aws-pptp-cloudformation
You can pull the code using git by running the following command from your cli:
git clone https://github.com/t04glovern/aws-pptp-cloudformation.git
Once you have the folder on your local system, you are going to need to make some small changes to the file pptp-server-params.json. This file contains the parameters we’re going to pass our CloudFormation script when we deploy it. Below are the parameters; Please change the VPNUsername, VPNPassword and VPNPhrase fields to something private.
[
    {
        "ParameterKey": "VPNUsername",
        "ParameterValue": "nathan"
    },{
        "ParameterKey": "VPNPassword",
        "ParameterValue": "passw0rd1"
    },{
        "ParameterKey": "VPNPhrase",
        "ParameterValue": "passw0rd1"
    },{
        "ParameterKey": "InstanceSize",
        "ParameterValue": "t2.micro"
    },{
        "ParameterKey": "DNSServerPrimary",
        "ParameterValue": "1.1.1.1"
    },{
        "ParameterKey": "DNSServerSecondary",
        "ParameterValue": "1.0.0.1"
    }
]
Once you are happy with the configuration, you can run the following to deploy your CloudFormation stack. Take note of the --region parameter, as this is what defines where your VPN is deployed to!
aws cloudformation create-stack --stack-name "pptp-vpn" \
    --template-body file://pptp-server.yaml \
    --parameters file://pptp-server-params.json \
    --region us-east-1
The StackID will be presented to you indicating that your deployment succeeded to execute, run the following to get the VPN Server Address using the CloudFormation describe-stacks param.
aws cloudformation describe-stacks --stack-name "pptp-vpn" \
    --region us-east-1 \
    --query 'Stacks[0].Outputs[?OutputKey==`VPNServerAddress`].OutputValue' \
    --output text
This should spit out an IP Address. If you get a value of None wait a couple minutes and try again, you might find the deployment takes a while. If still nothing, check the CloudFormation console.
AWS CloudFormation Console Deployment
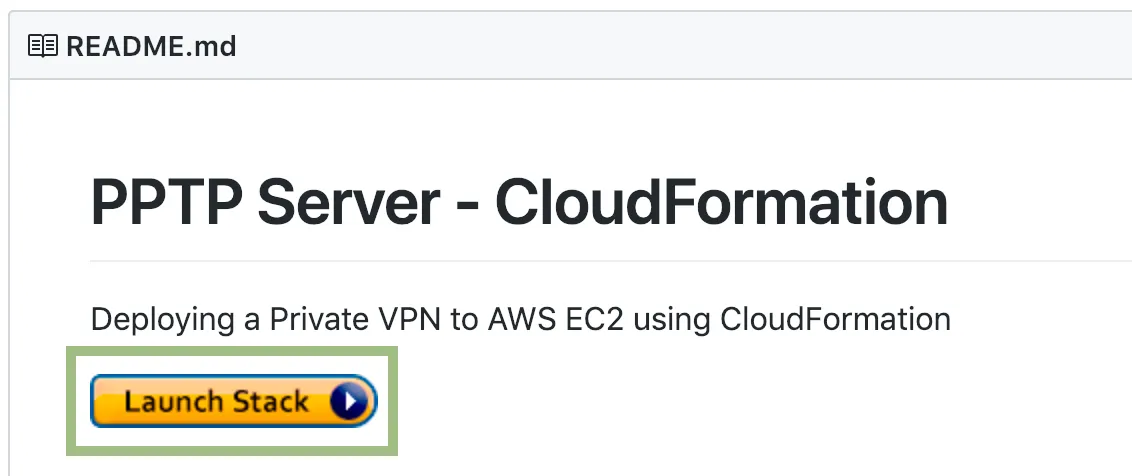
To deploy from the CloudFormation console, open up the GitHub repo in your browser. Then just click the Launch Stack button.
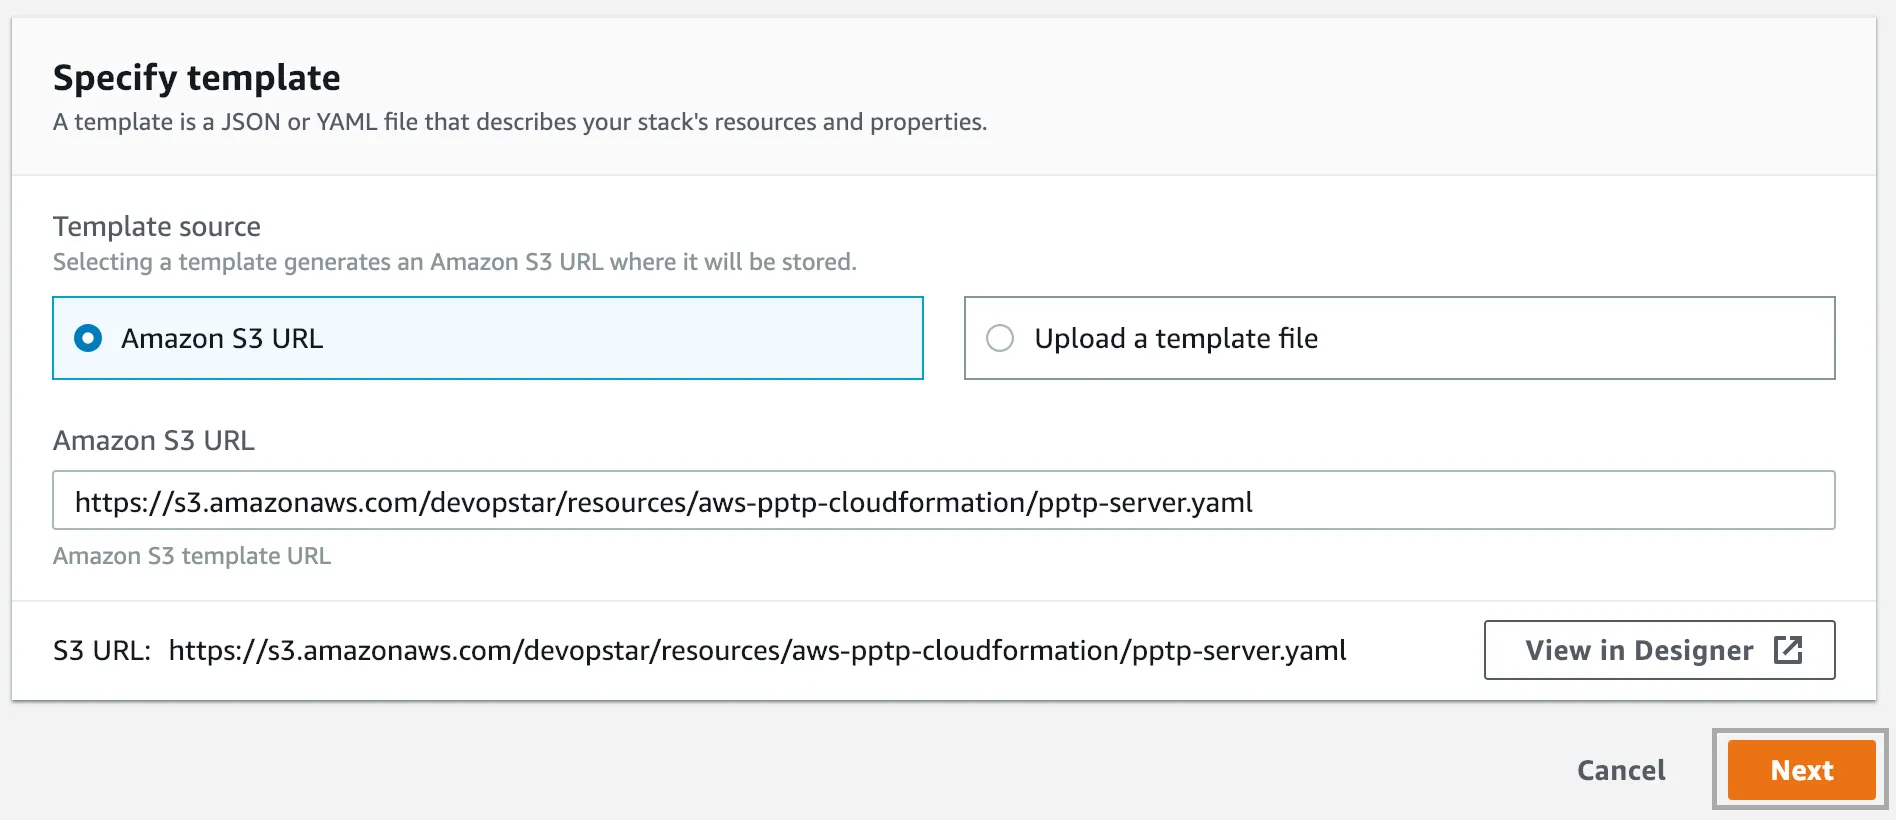
When you arrive, click next (confirm the source of the stack template. I’m hosting a copy here https://s3.amazonaws.com/devopstar/resources/aws-pptp-cloudformation/pptp-server.yaml).
Next provide the parameters, again these are the same parameters we went over in the AWS CLI configuration section. Just be sure to supply a Username and Strong passwords.
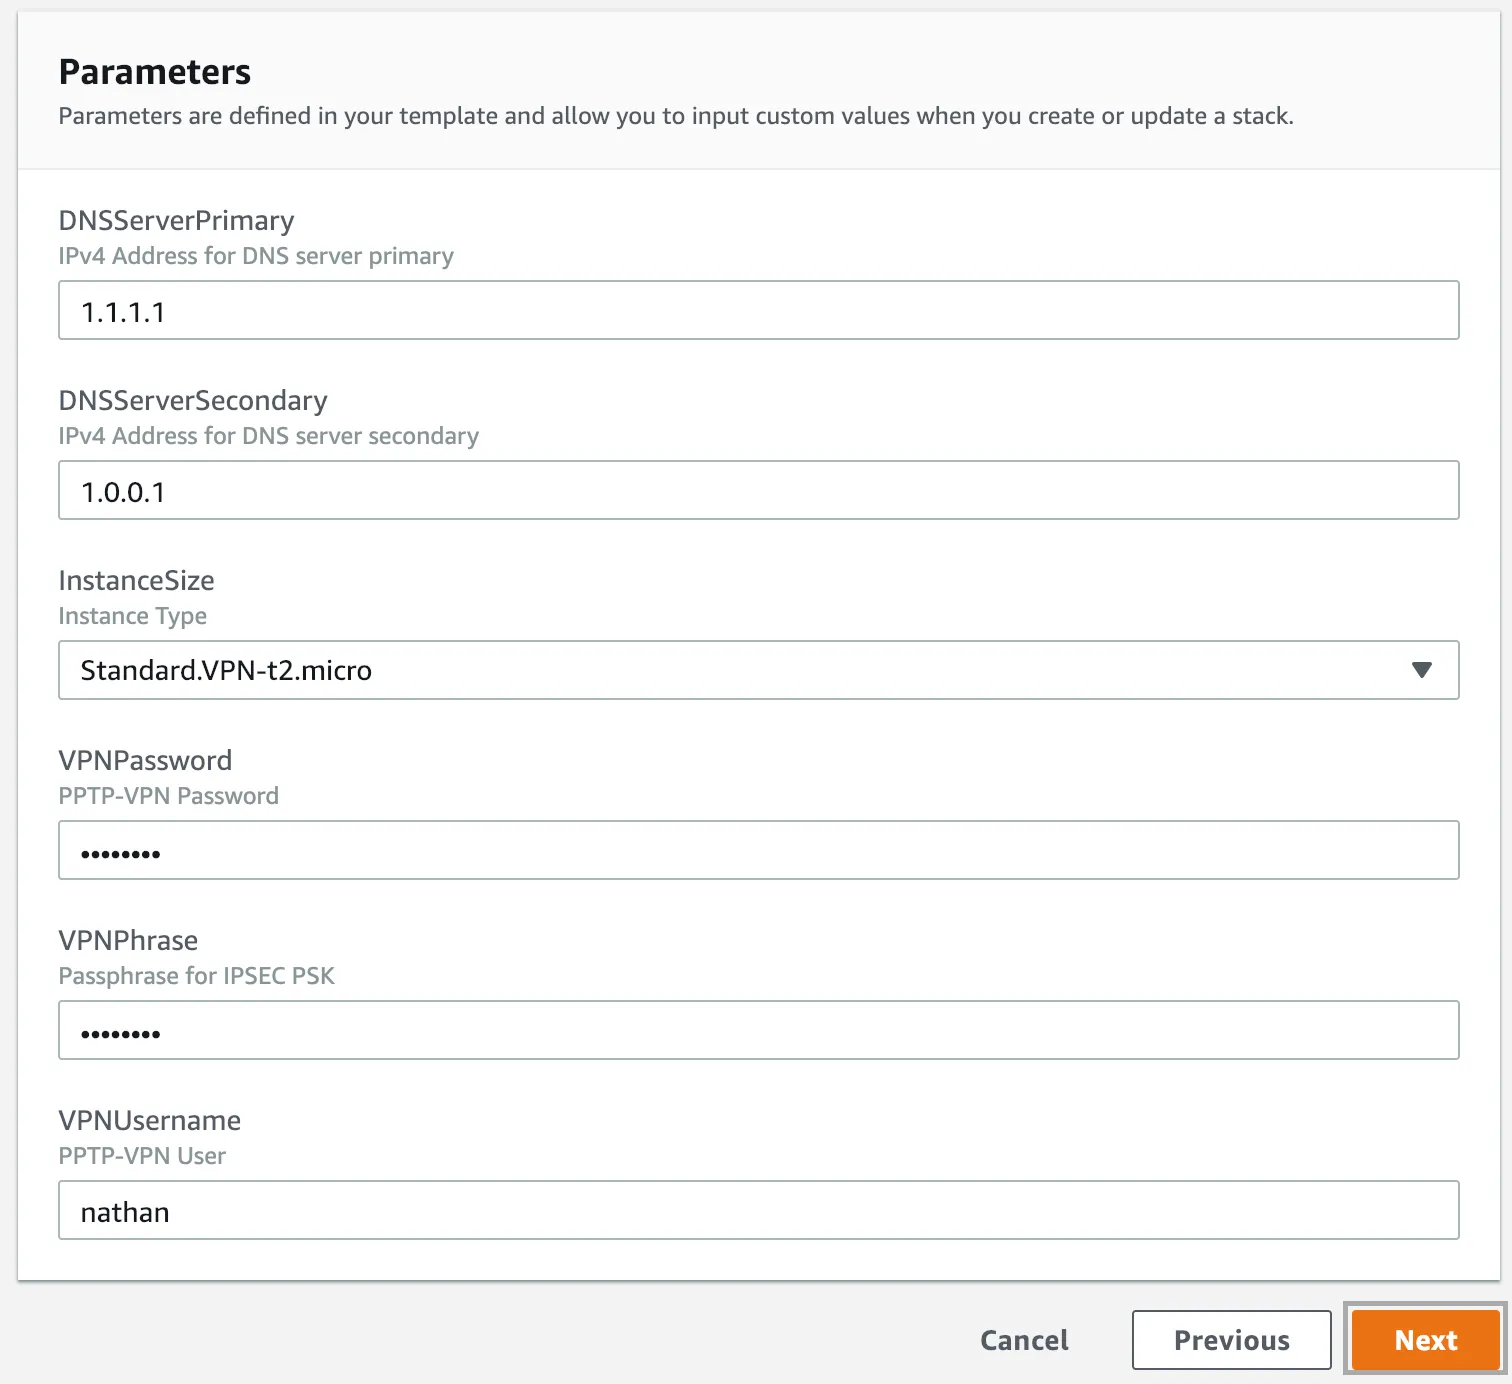
Click Next when you’re happy, and finally hit Next and Create Stack to finalise.
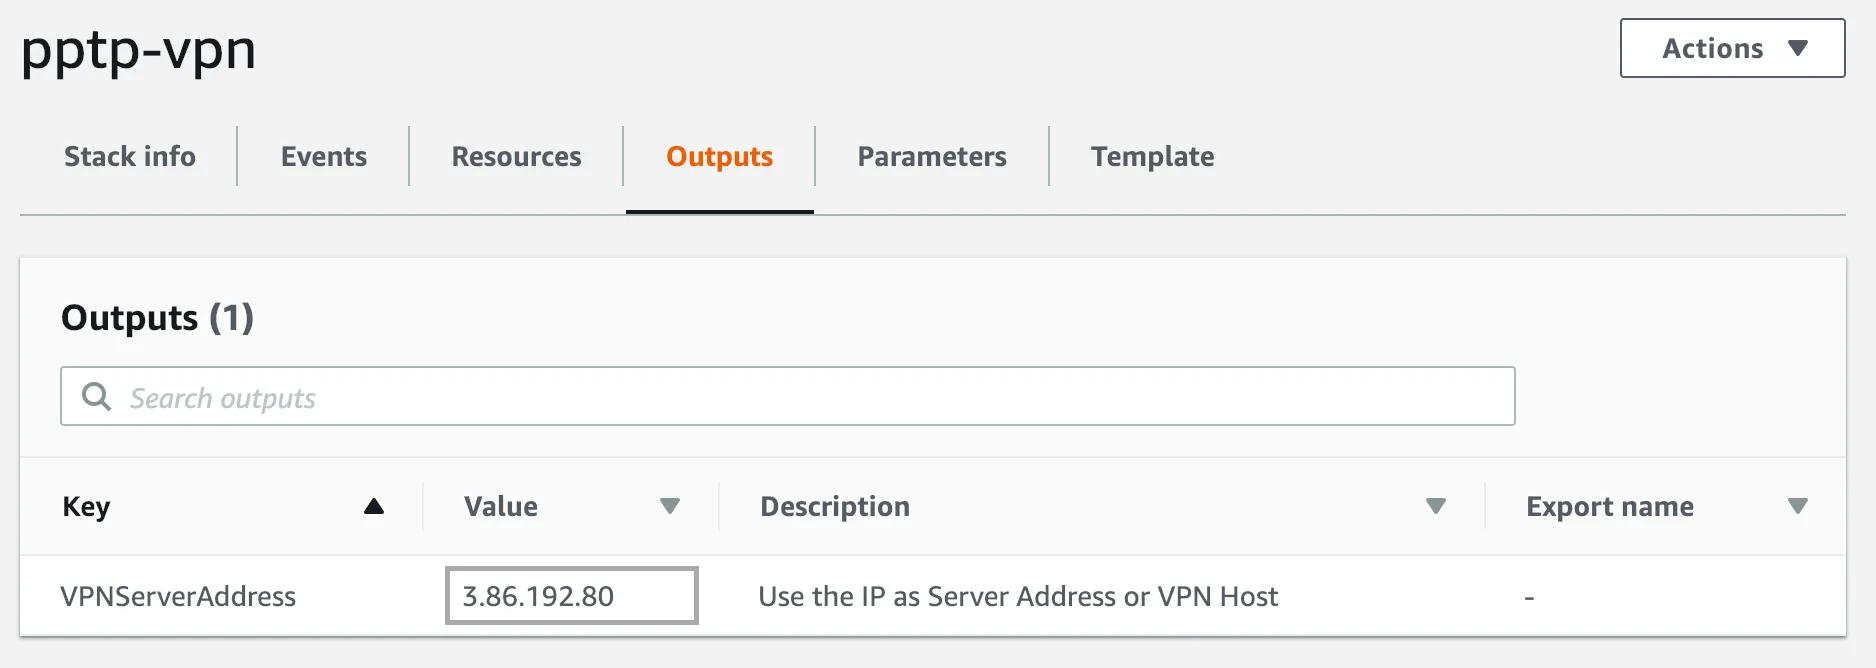
You can now view the status of your Stack, click on it and select Outputs. When your stack completes it deployment you will be able to see your Private VPN Address
Client Setup
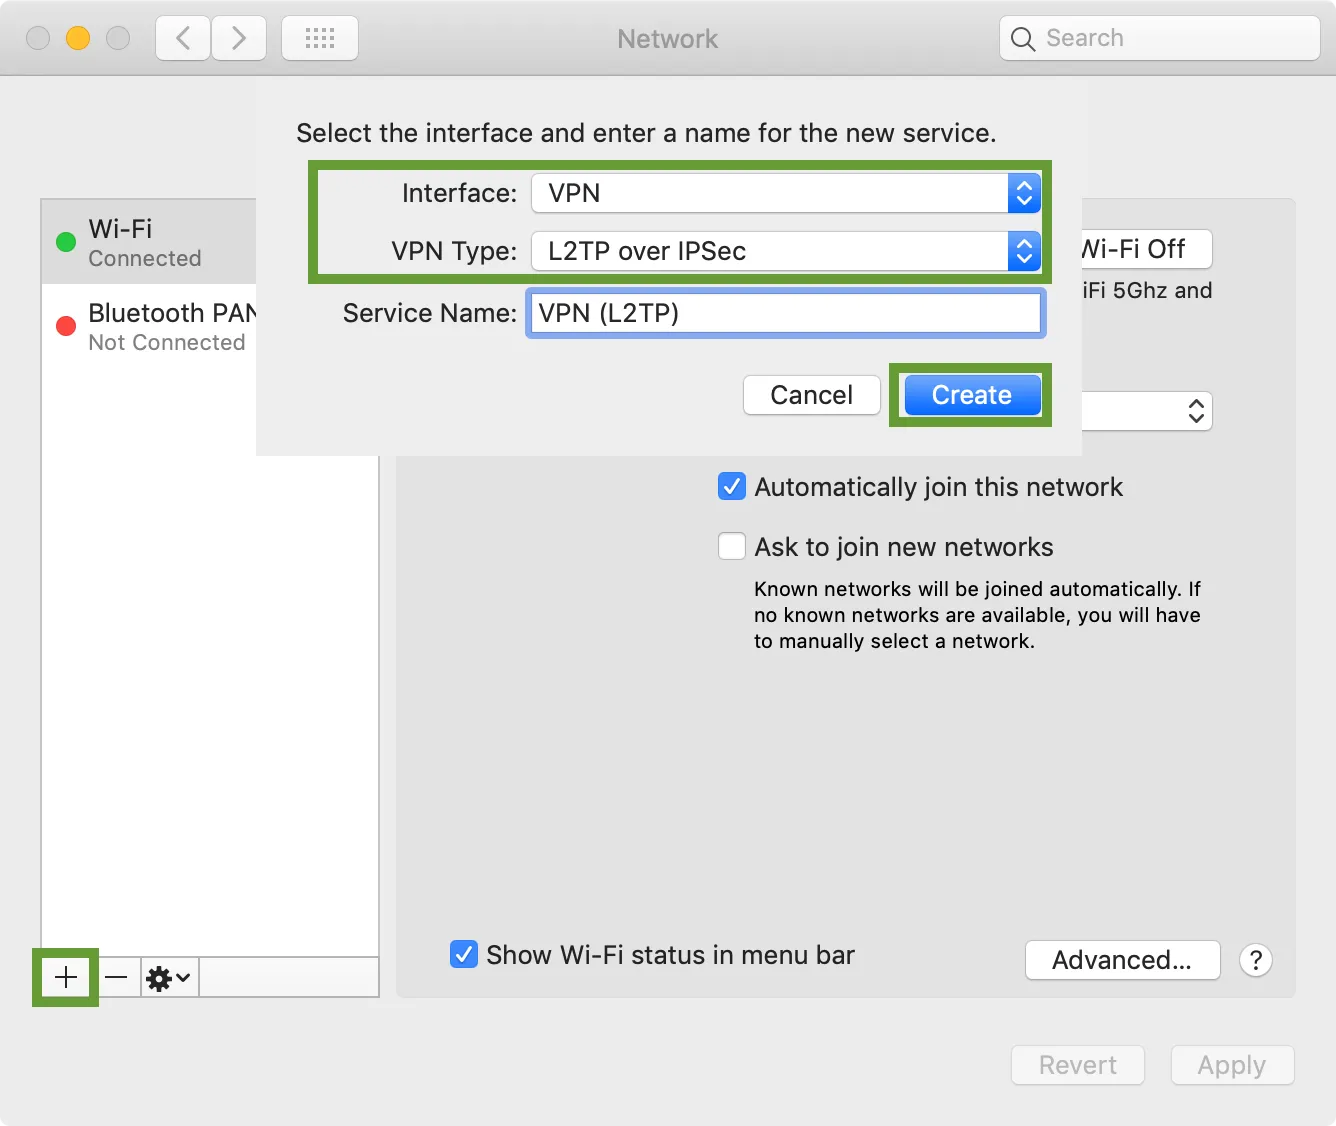
Now that we have our Server address, we can use it to setup our VPN. On MacOS create a new Network Interface with the type VPN L2TP over IPSec
Next add your Server Address (this is the address you got from the CloudFormation output. Also populate the Account Name field (this is the username you set for the VPNUsername field
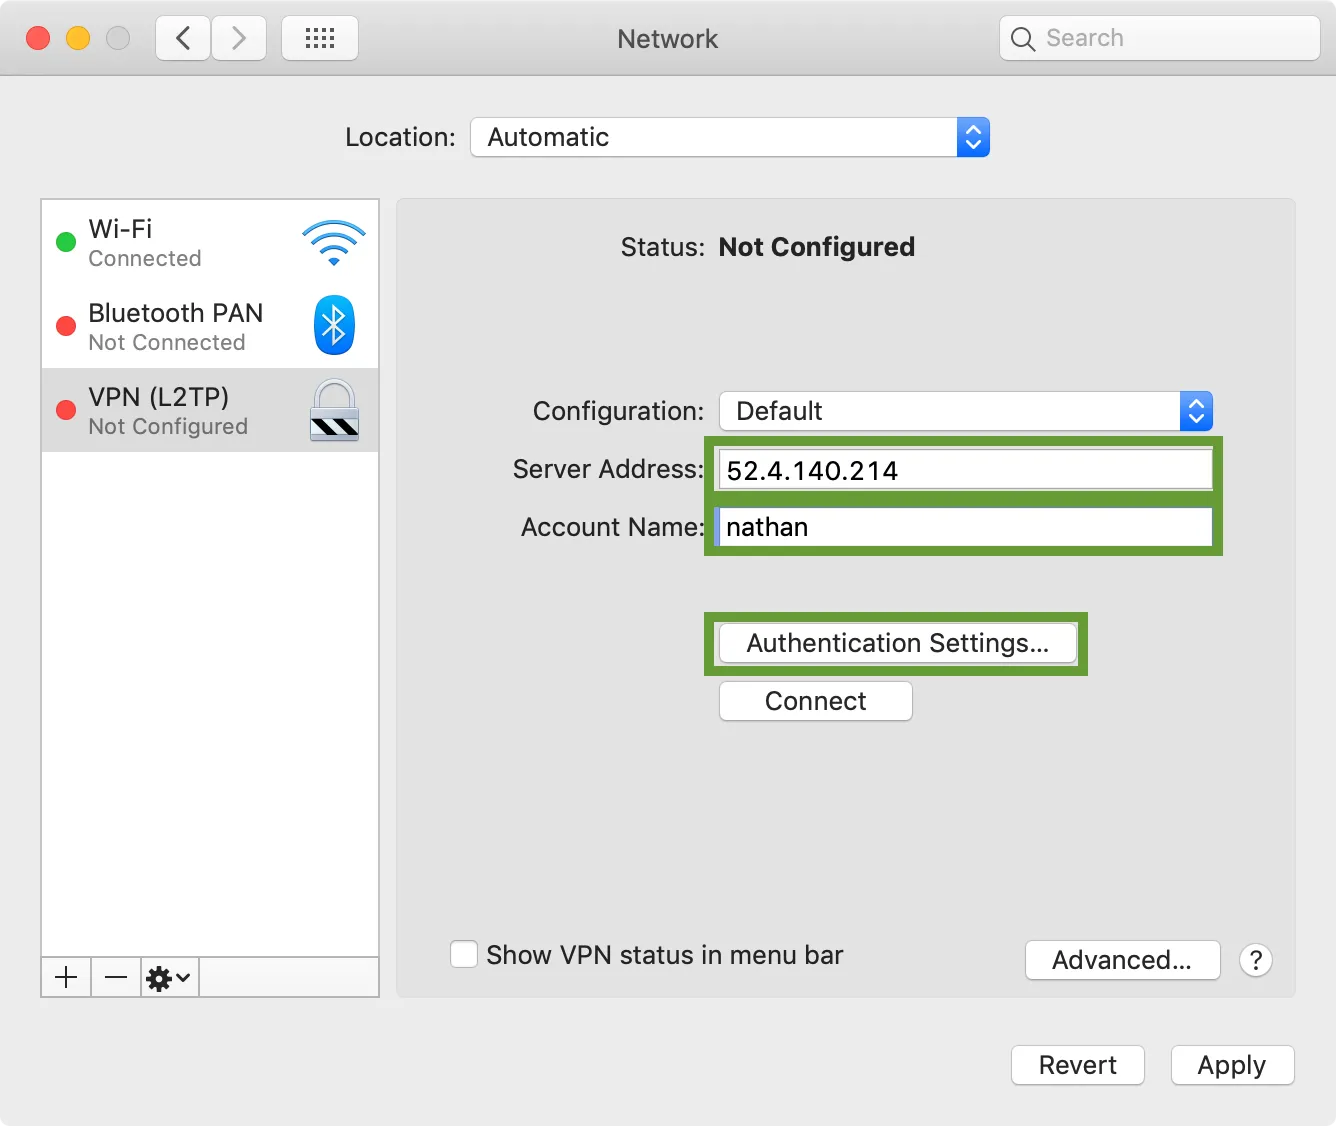
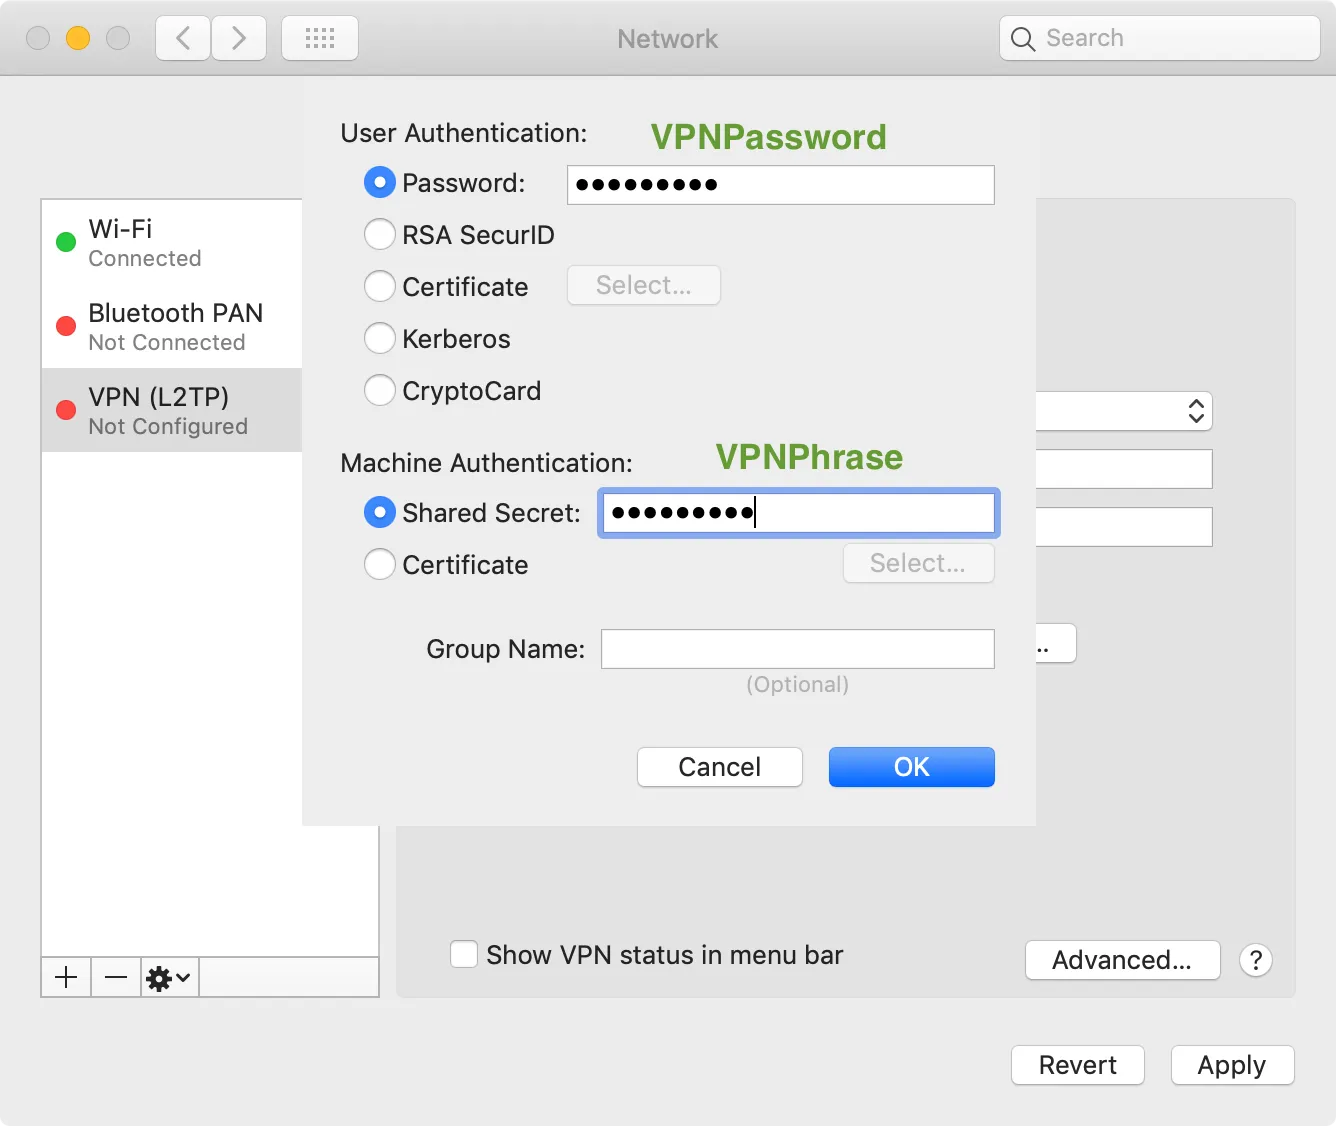
Under Authentication Settings, put in your VPNPassword in the Server Authentication box, and VPNPhrase under the Machine Authentication box.
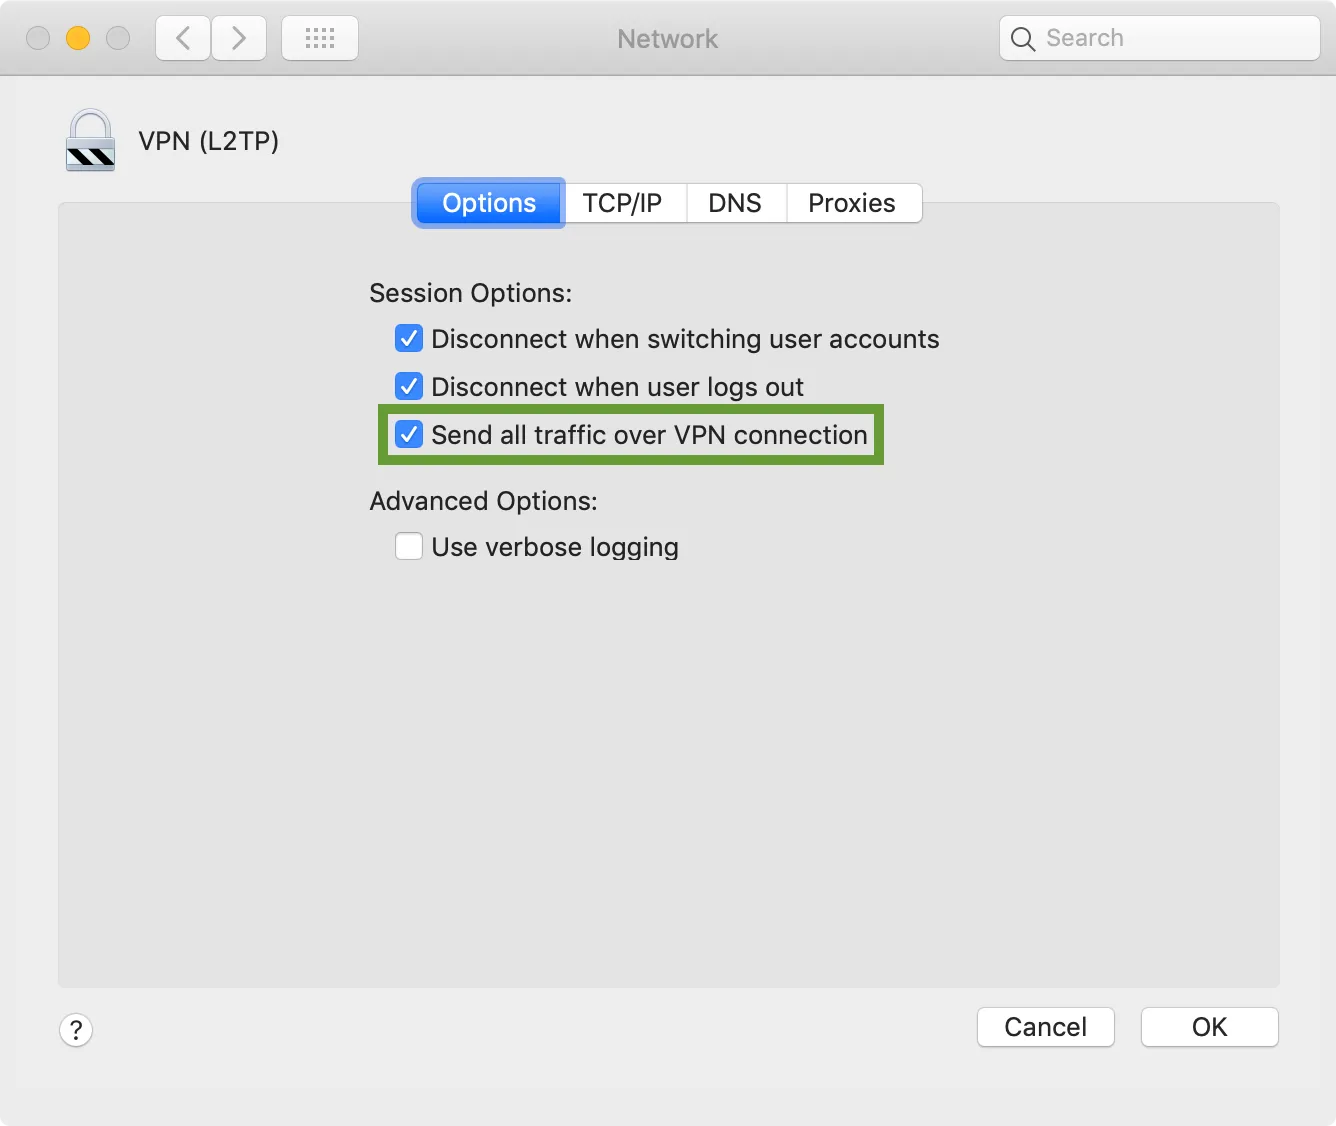
Under Advanced Settings (after clicking OK), make sure to check the box to Send all traffic over VPN connection.
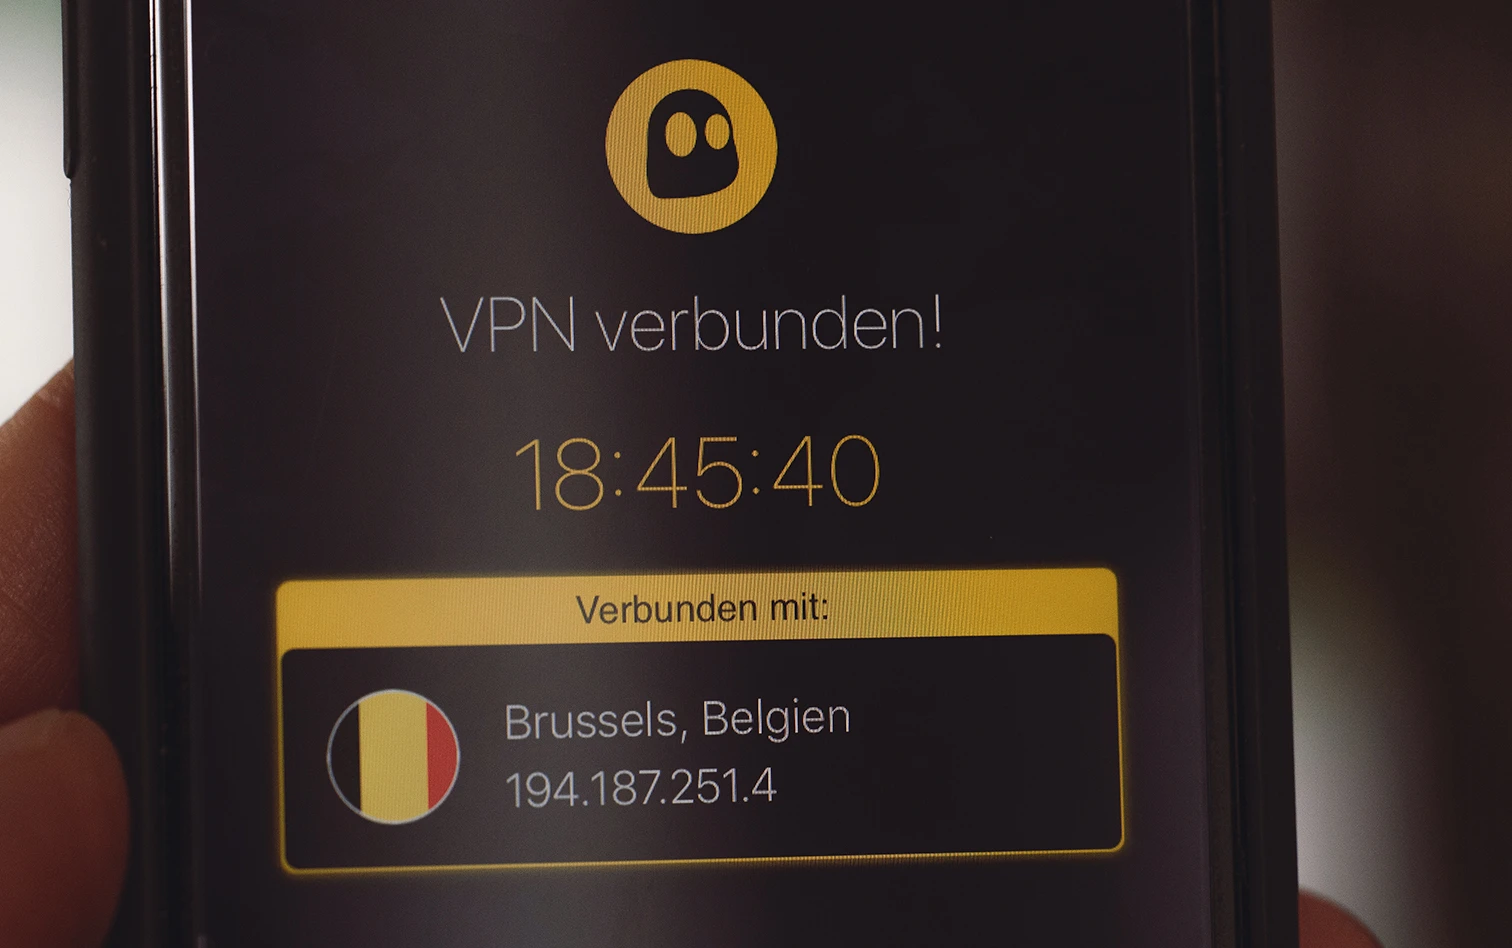
Once you’re happy with the configuration, click Connect and you should be greeted with something similar to the following indicating everything was successful.

Attribution
Majority of the credit for this script goes to webdigi who made a post and manages a version of the code base without some of the DNS configuration parameters. Their post How to setup your own private, secure, free VPN on the Amazon AWS Cloud in 10 minutes is also an excellent resource for this deployment.